

Kling 4 Tips: 16 Tricks for Better Kling 4.0 Videos
Kling 4.0 rewards planning more than prompt luck. This guide distills 16 working tips from three credited video walkthroughs: AI DOTHA's kling.ai production test (elements, multi-shot and world bridging), Theoretically Media's Kling 4 Flash first look (dialogue, lip sync and Omni references) and Roboverse's month of settings testing (prompt structure and quality modes). Every step is illustrated with frames from the footage itself.
Source & credits
Screenshots in this guide are captured from AI DOTHA's public walkthrough video. Every step links back to the exact moment it shows, so you can follow along.
AI DOTHA ↗Budget credits like a producer
- 1
Know what a 30-second generation buys before you spend
Kling 4.0 doubles clip length from 15 to 30 seconds and accepts up to 15 multimodal references, so one prompt can carry a whole sequence — AI DOTHA walked out of his test with a complete multi-scene short built around the line "Every door leads somewhere. One of them leads back." The catch is cost: he warns that a story longer than 30 seconds burns through the entire credit allowance of the $20 plan. Decide the story's length before you touch Generate.
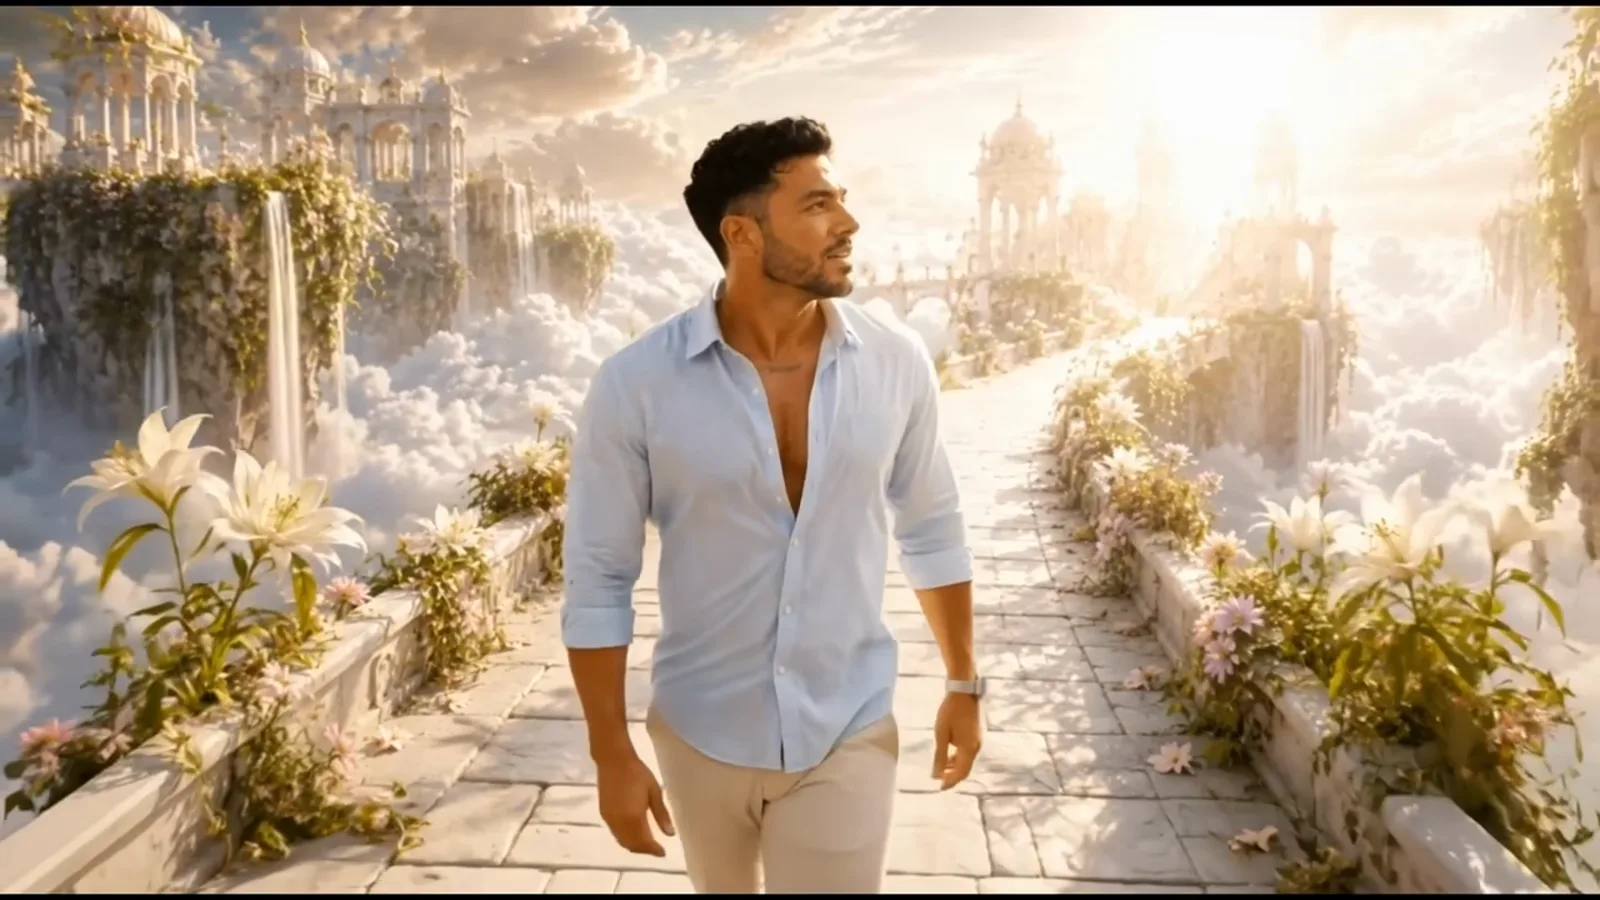
A finished multi-scene short — the scale one 4.0 workflow can now reach.Watch at 6:15 - 2
Probe with single scenes, then commit to the build
Every source in this guide probes before committing. AI DOTHA generated discrete building-block shots — like the package-with-a-key delivery beat — and reviewed each one before wiring the story together. Roboverse's month of testing adds a cost rule: Master quality mode reads prompts more deeply than Pro, so keep everyday shots on Pro and save Master for the showcase clip. Short probes are where mistakes are cheapest.
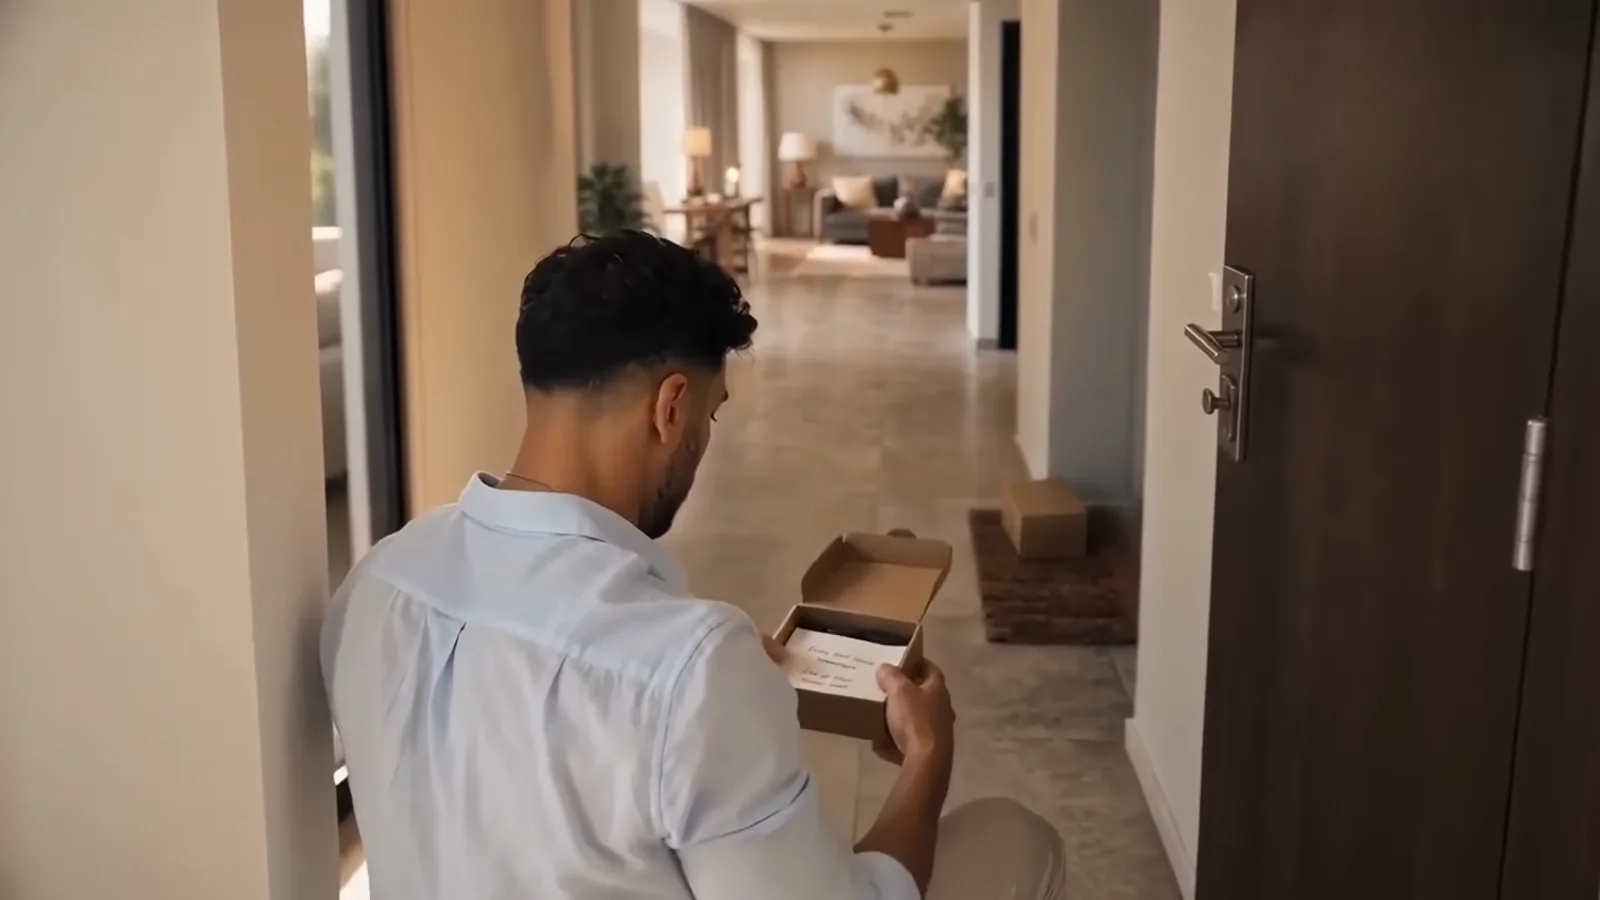
One delivery beat, generated and reviewed on its own before the story came together.Watch at 9:00 - 3
Check what your plan can actually run today
Kling 4 went out as an early-access Flash release: Theoretically Media reports Ultra annual subscribers got in first, the flagship full release is scheduled for October, and today's Flash outputs are capped at 720p. The $20 plan opened up within days of launch. Spend early-access credits learning the workflow and drafting scenes — keep client deliverables for the full model.
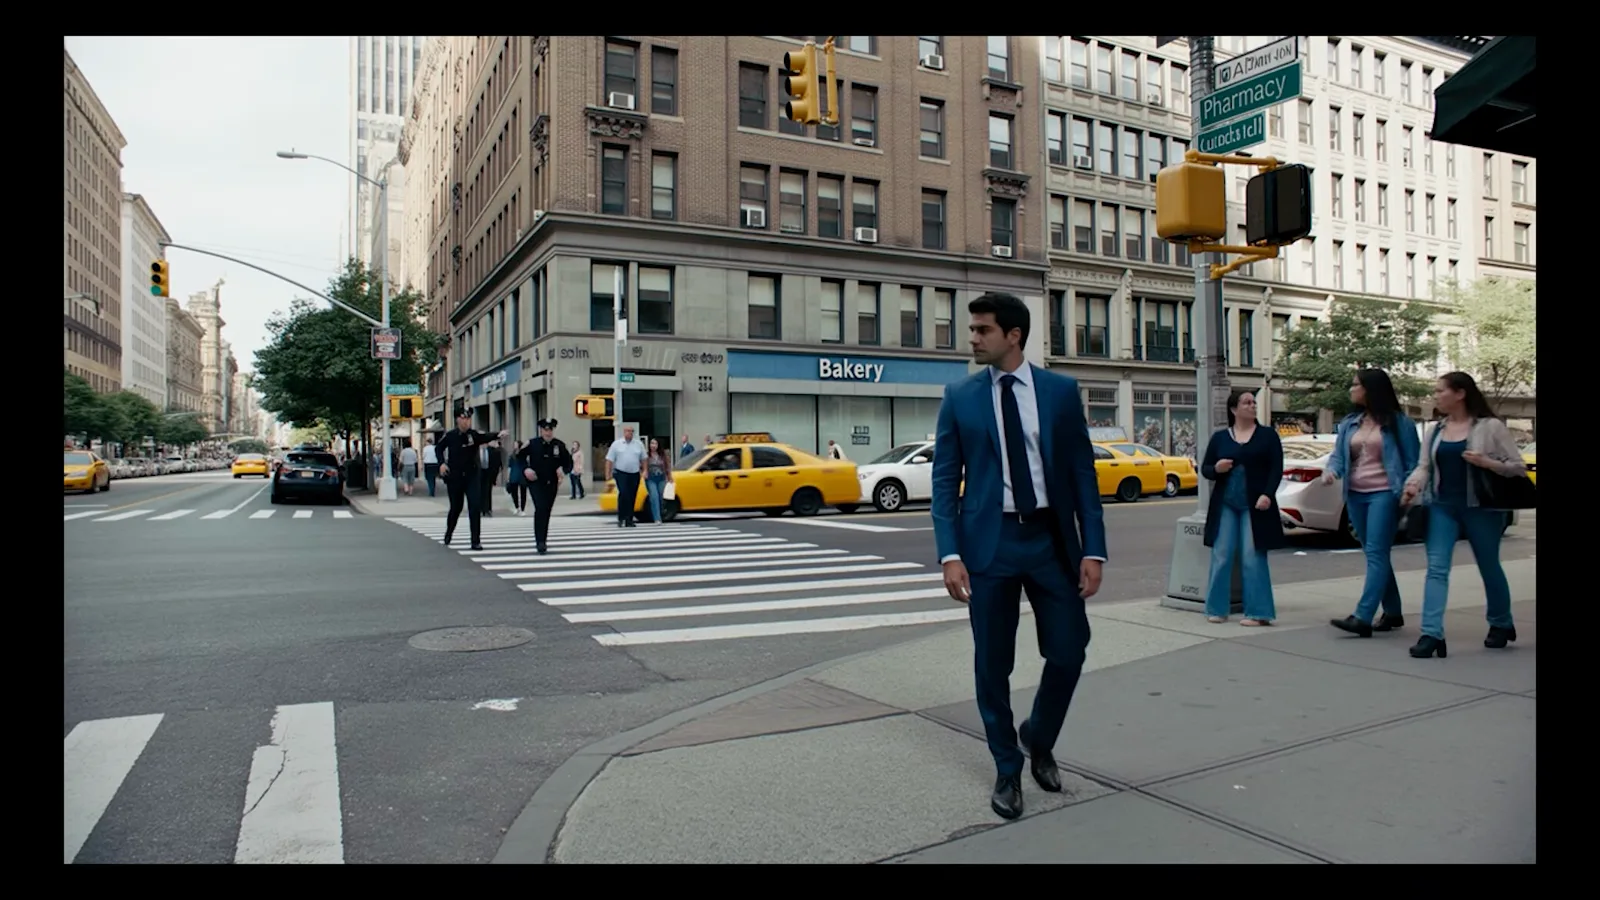
A first-look text-to-video test: solid motion, but Flash-era 720p.Watch at 1:30
Lock your character before you roll
- 4
Start from a real photo, not a prompt
AI DOTHA built his consistent lead from a casual photo taken in a car days earlier — no studio, no character sheet. In 4.0 the reference workflow accepts up to 15 multimodal inputs, so a single real face is enough to anchor everything that follows. Real sources also survive scrutiny: the character stays recognizably the same person in every later scene.

The entire character pipeline started from this ordinary phone snapshot.Watch at 2:10 - 5
Turn the face into a media kit reference
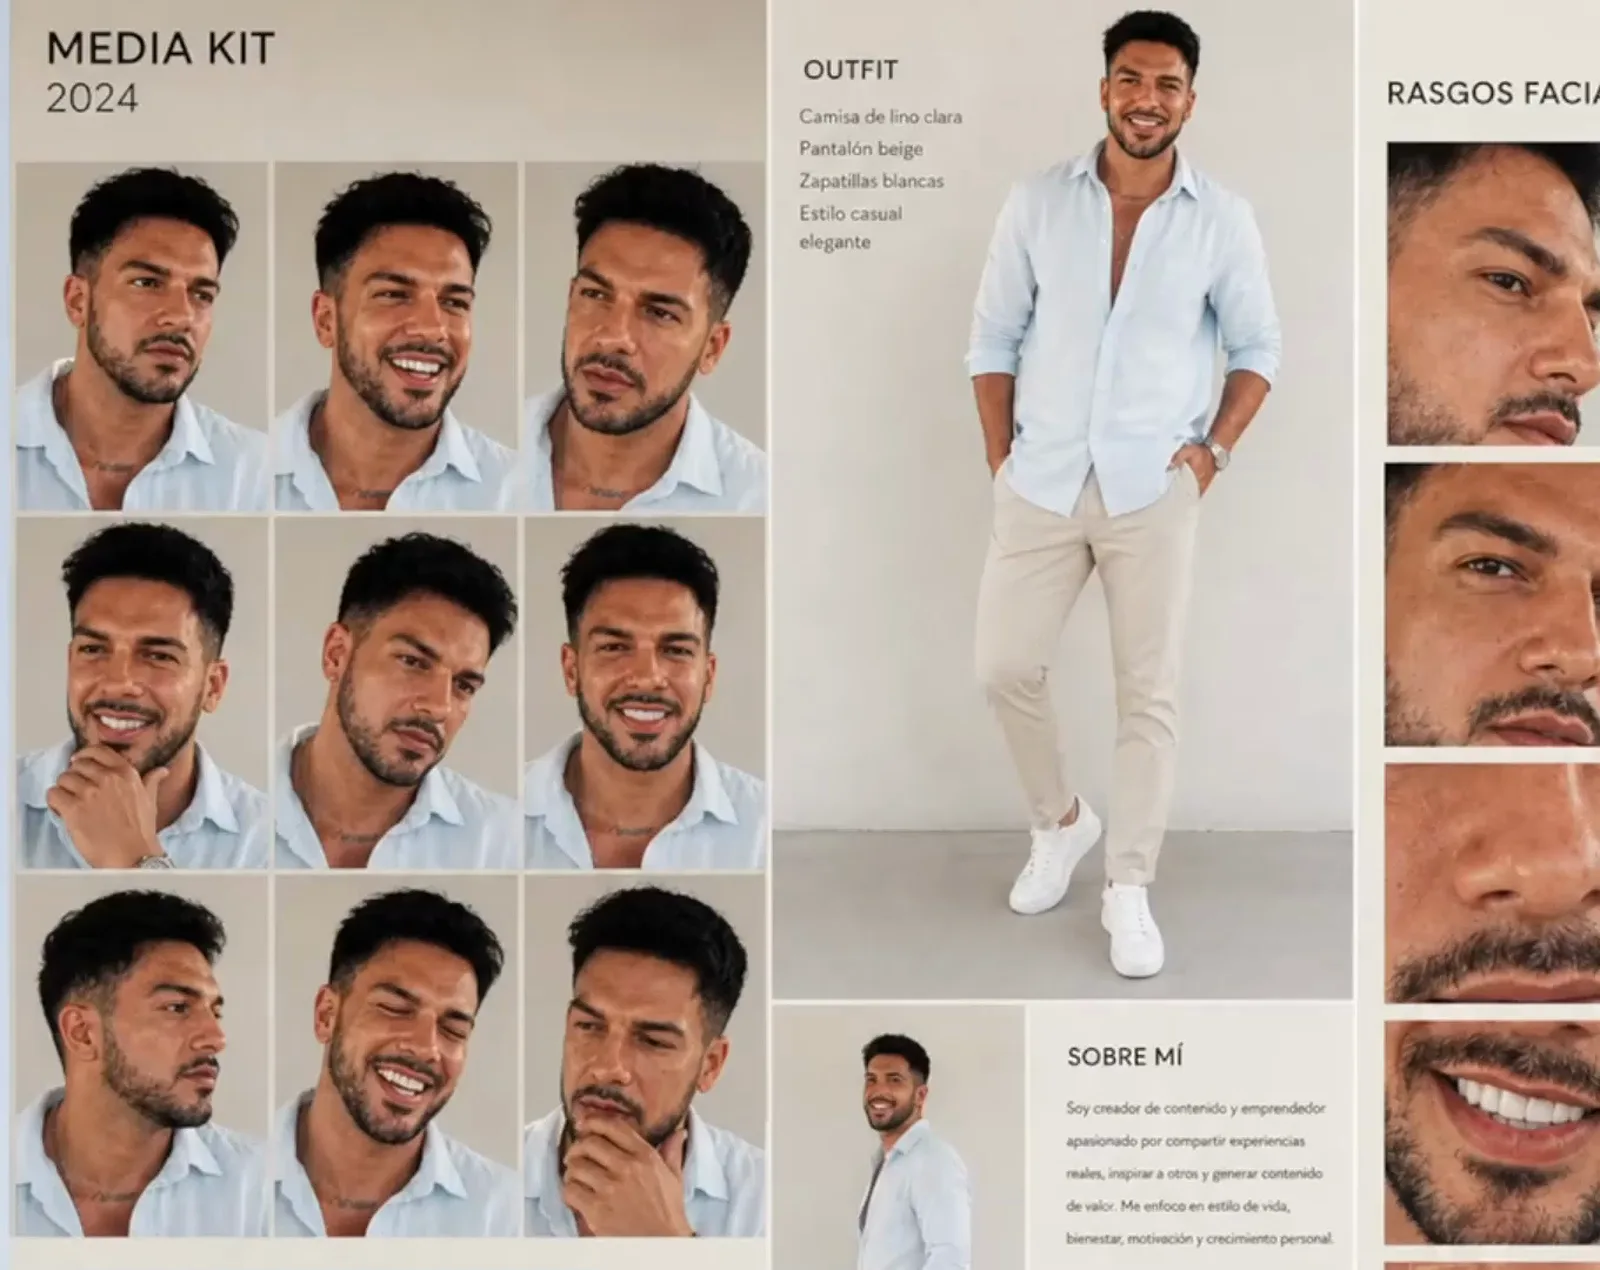
Next, generate a "media kit" of your character — DOTHA's image prompt asked for his face, outfit, color palette, full body shot and facial features on one reference page. That sheet becomes the master identity card: wardrobe, palette and body type are pinned where every later generation can copy them. One well-built sheet beats ten ad-hoc selfies.
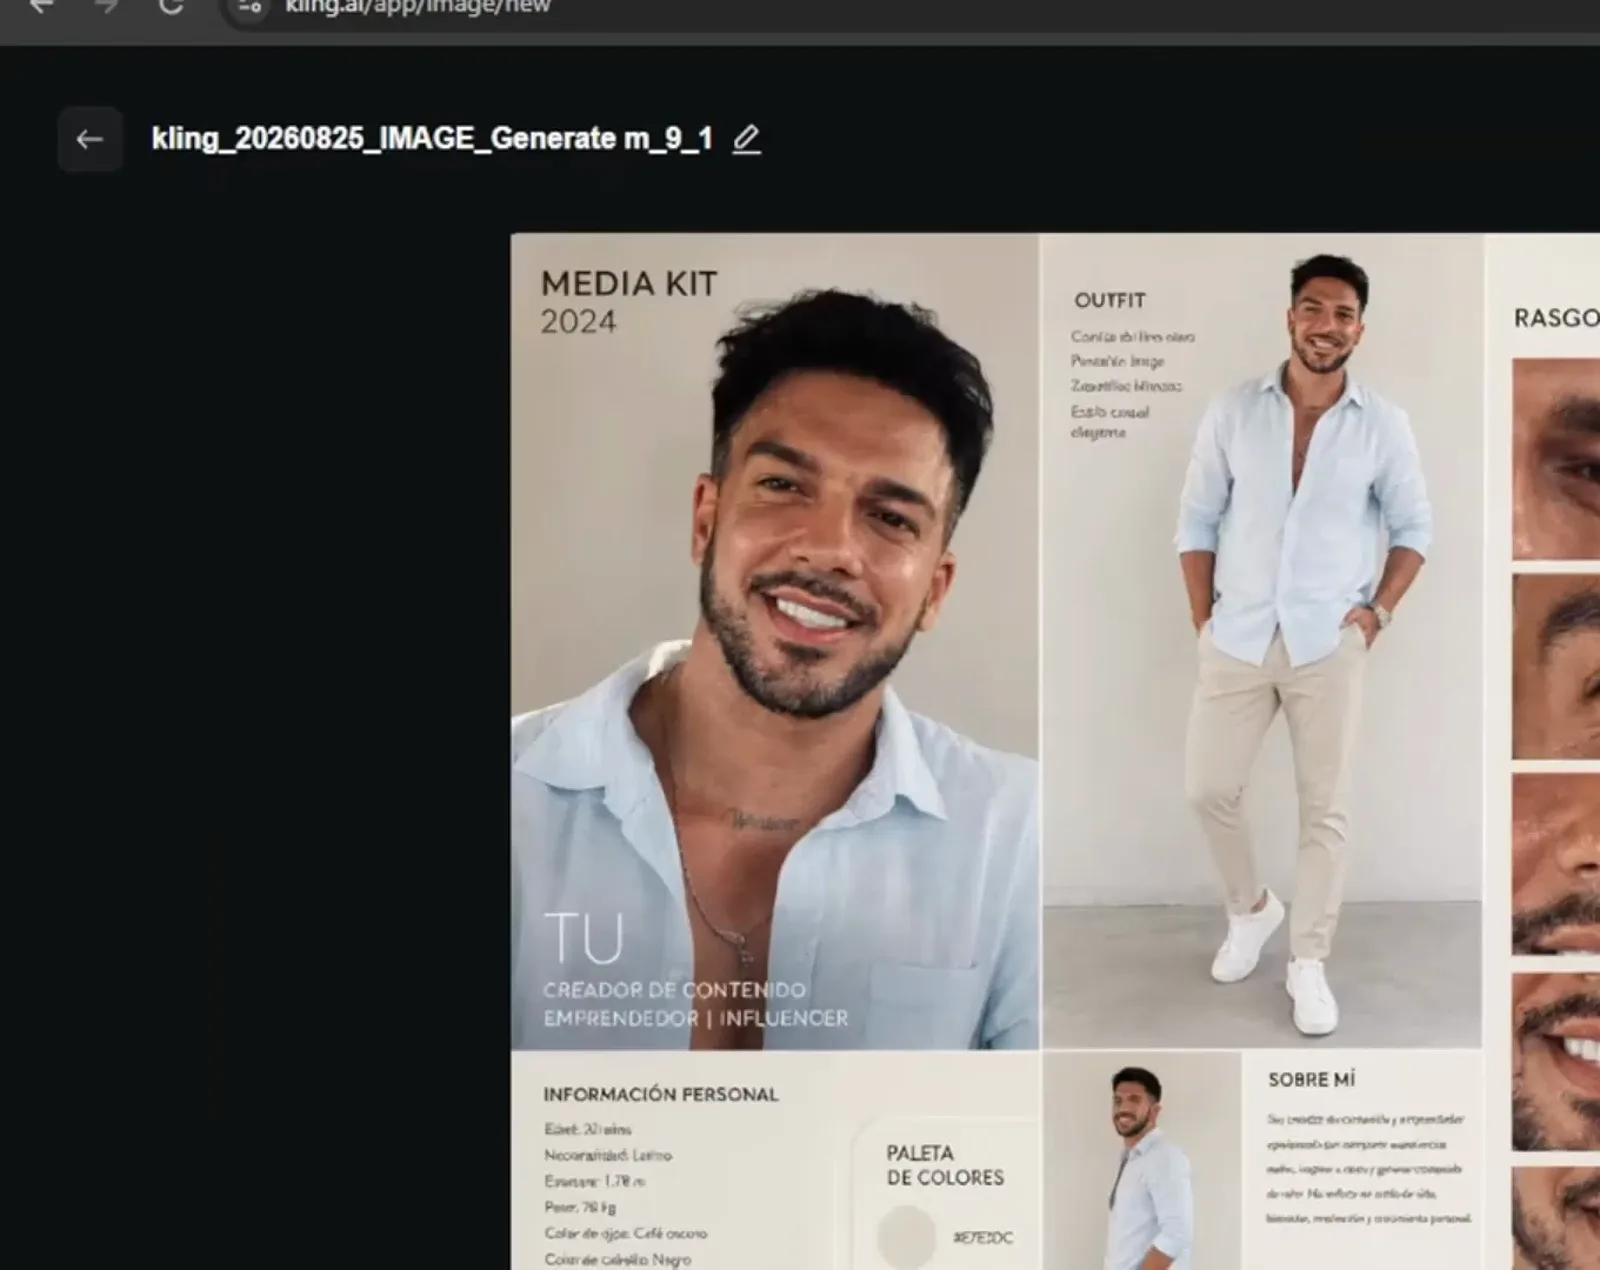
Outfit, palette and body type pinned to one page — the character's master reference.Watch at 2:45 - 6
Register the character as a named element
Inside the video workspace, the Create Element dialog turns the media kit into a reusable asset: attach the reference, give the element a name — DOTHA registered his own face — and describe its key features in the 100-character detail field. From then on the named element attaches to any scene with one click instead of a fresh upload. Register once, reuse everywhere.
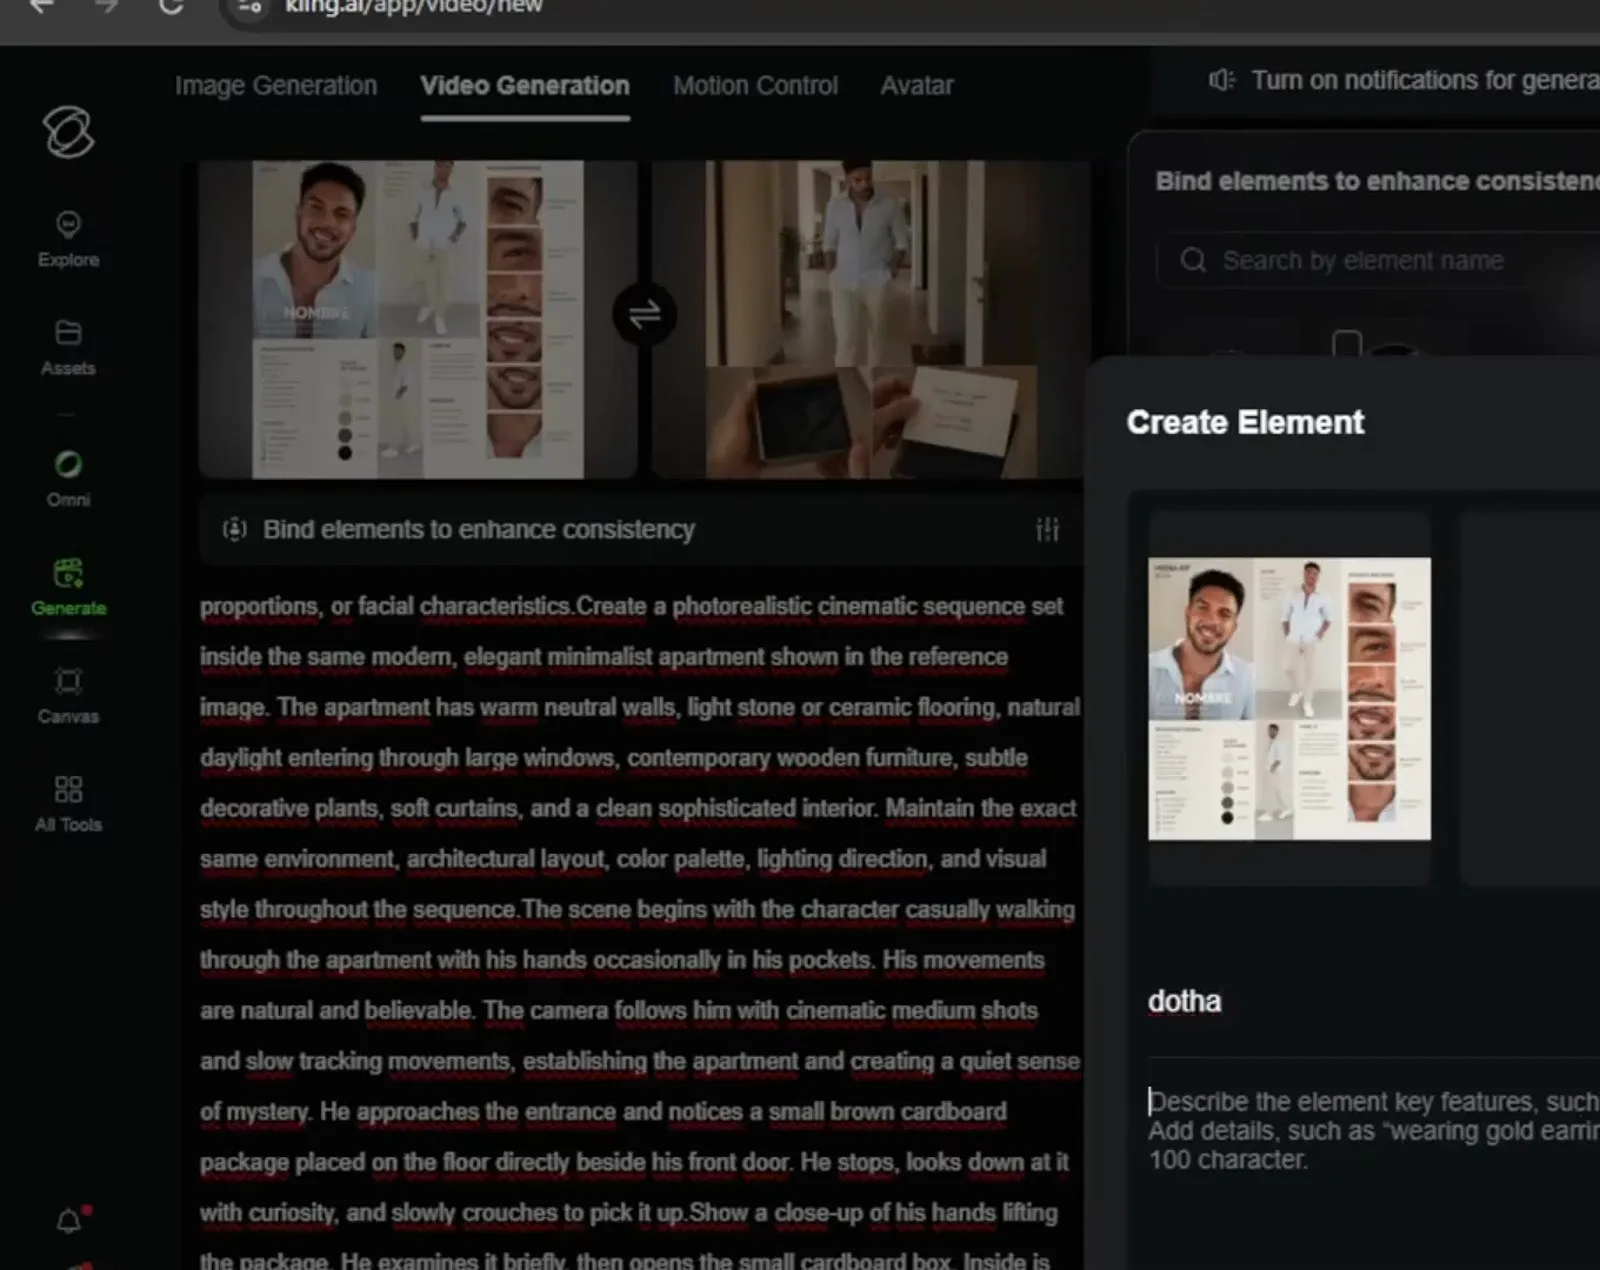
Named, described, saved: a one-click attach for any scene.Watch at 3:25 - 7
Add an expression set as backup elements
A single smiling reference locks the face but not the performance. DOTHA generated a full three-by-three sheet of his facial expressions and kept those variants alongside the main element, so arguments, grins and close-ups all have a matching reference to pull from. His verdict: same hair, same smile — it really is the same person, scene after scene.
Nine registered expressions — the performance range one portrait can't carry alone.Watch at 3:35
Run custom multi-shot one scene at a time
- 8
Bind the element into every single scene
Consistency is not automatic. Each scene row carries its own element-binding attachment, where the named character element is pulled in next to the scene's start frame — skip the bind and your character drifts between shots. The binding bar sits directly above the prompt field, so attaching the element becomes part of writing the scene, never an afterthought.
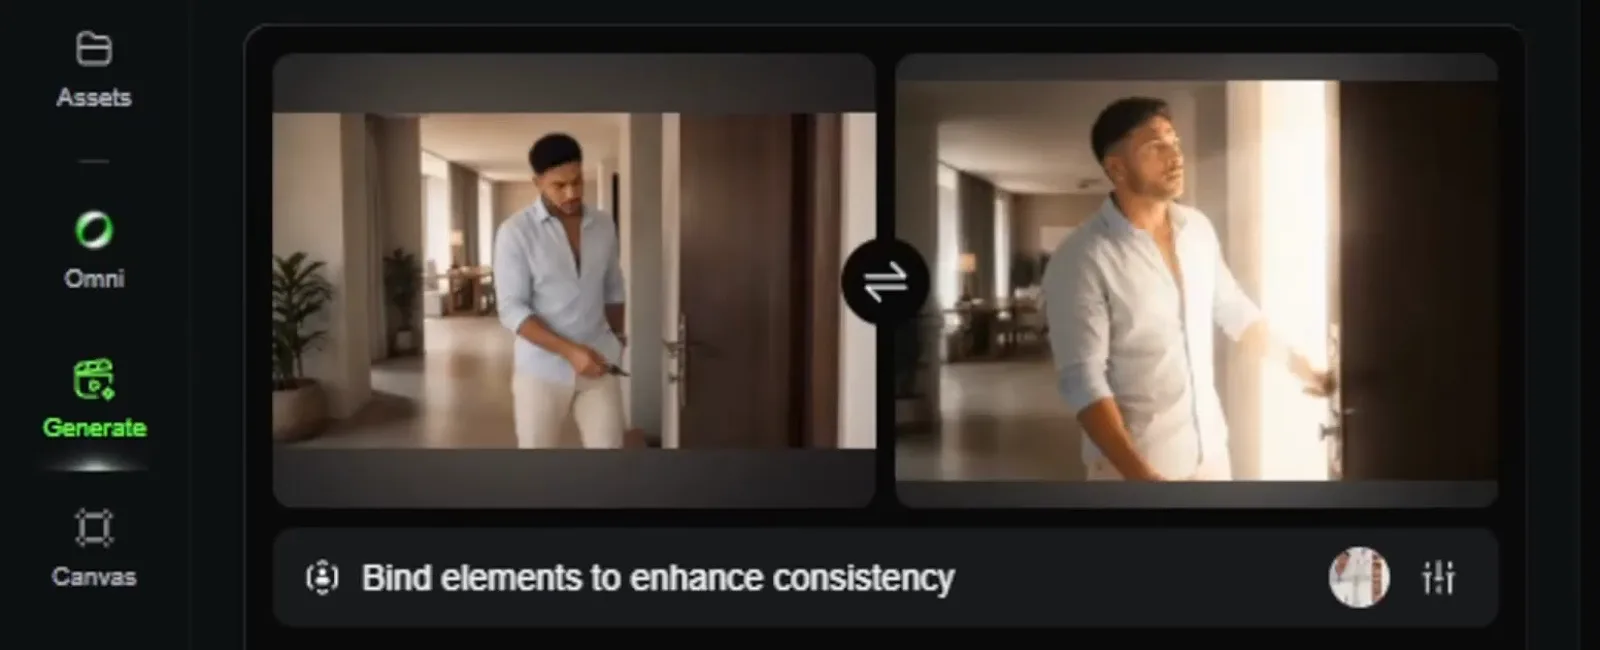
Two anchored frames, one bound element — this is the consistency contract per scene.Watch at 5:00 - 9
Write one self-contained prompt per shot
Custom Multi-Shot lays the film out as shot rows — DOTHA's run shows Shot 1 and Shot 2 at five seconds each, an add-shot button, and a Generate button that previews the credit cost. His prompts restate the essentials every time: environment, architecture, lighting direction, camera behavior, plus guards like "no cuts, no glitches, no morphing, no duplicated characters." Roboverse's FORMS formula — focus, outcome, realism, motion, setting — is the checklist that fits these rows naturally.
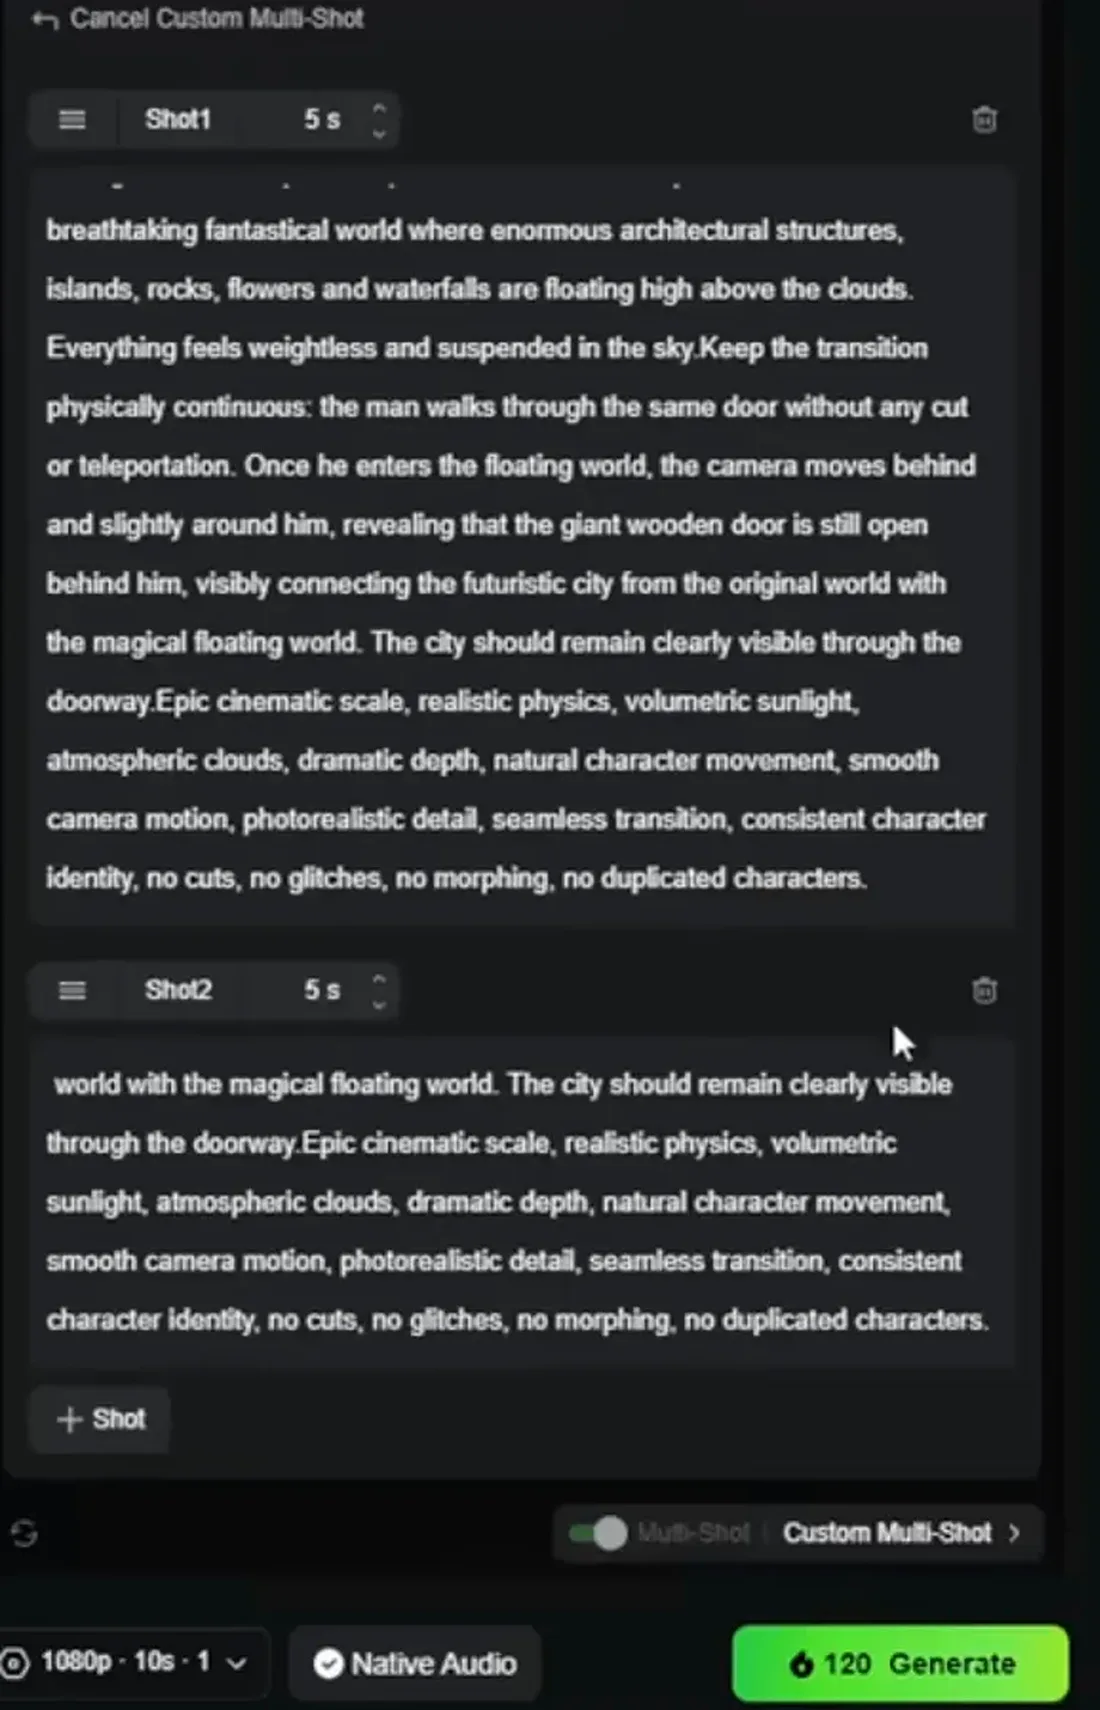
Shot rows at five seconds each, with the credit cost shown before you commit.Watch at 8:30 - 10
Review every return against the plan
When a scene comes back, watch it against the storyboard before generating the next one — DOTHA caught his character returning with a heavier beard than the reference allowed and flagged it for a fix. Small drifts compound across a multi-shot build: a jacket color ignored at shot two becomes a different person by shot six. Details are cheapest to fix while the shot is one click from a re-roll.
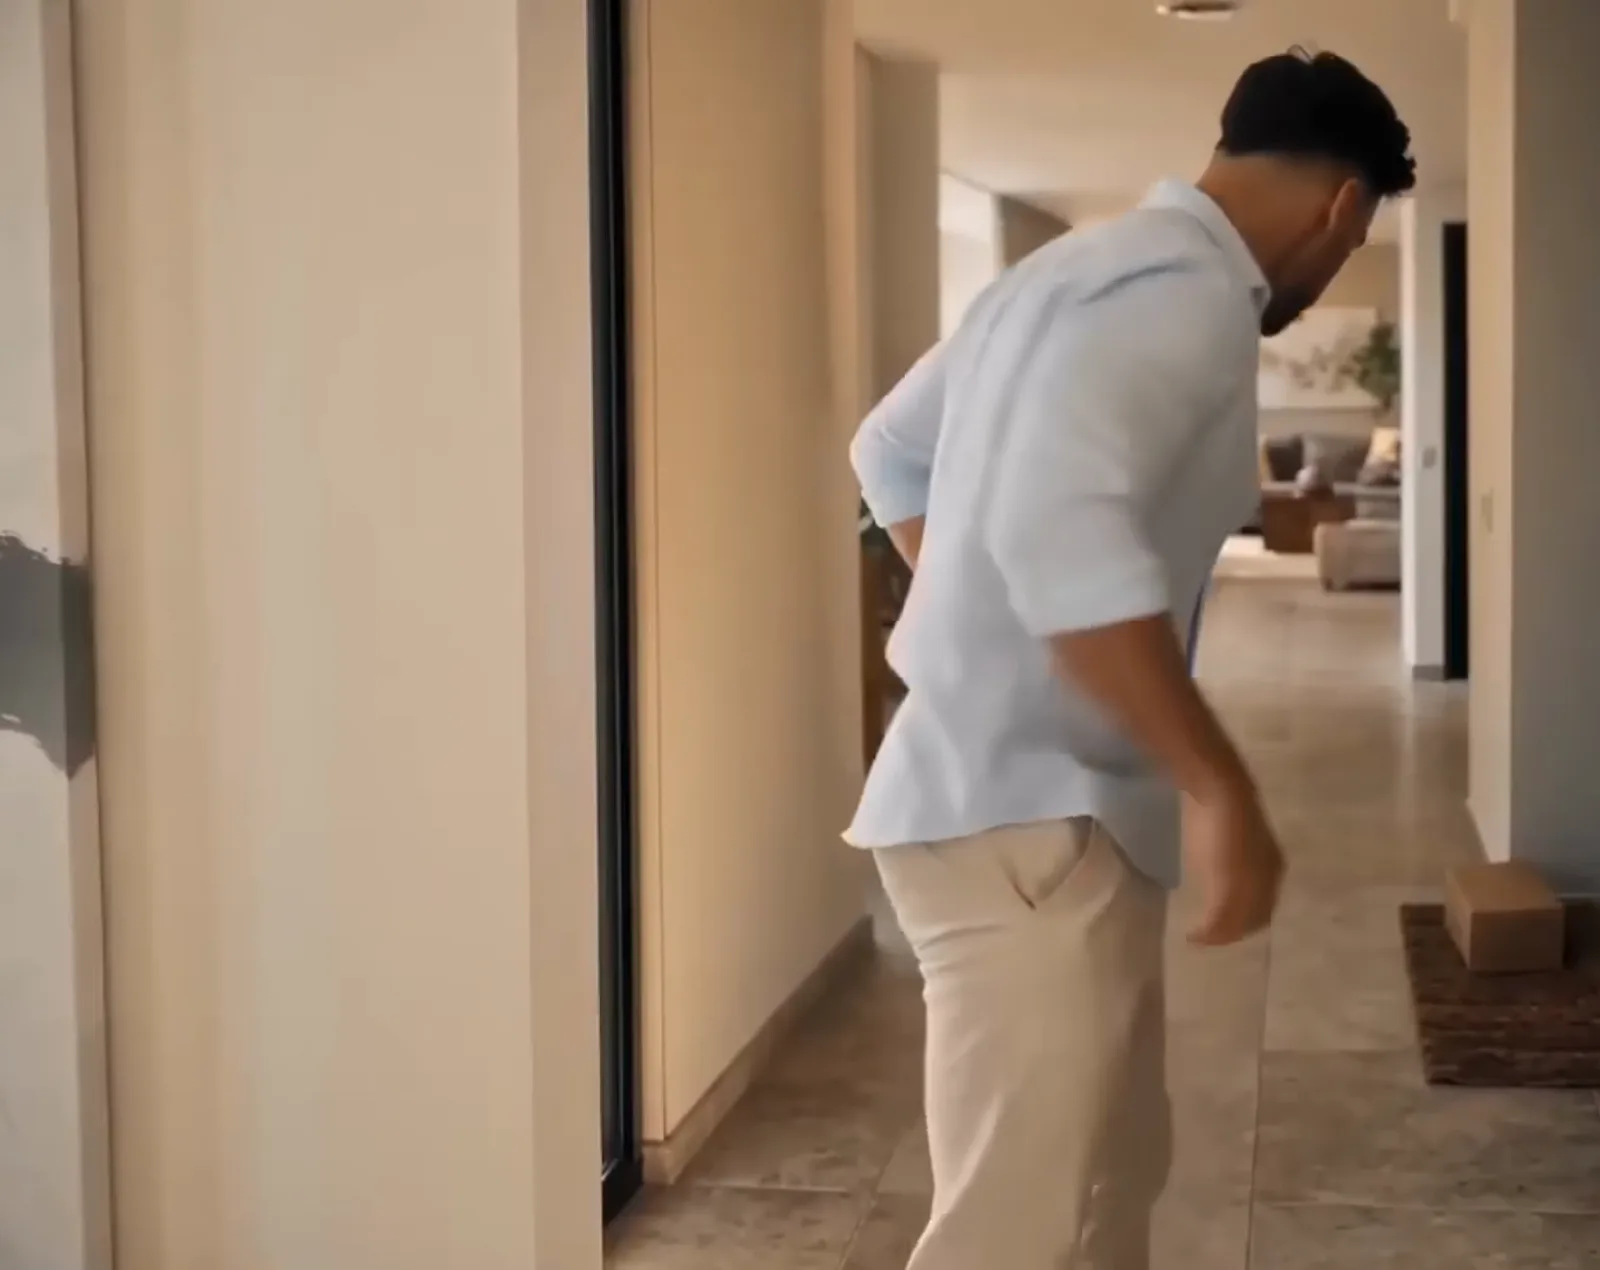
Pause and compare — beard, wardrobe, doorway. Drift is cheapest to fix right here.Watch at 4:05
Bridge worlds without a jump cut
- 11
Give the model both sides of the transition
Hard cuts between generated worlds read as glitches. The multi-shot panel accepts an optional end frame next to the start frame, so a scene knows exactly where it must land — DOTHA fed his hallway shot and the glowing doorway in as the two anchor points, then prompted for physical continuity: the man walks through the same door without any cut or teleportation.
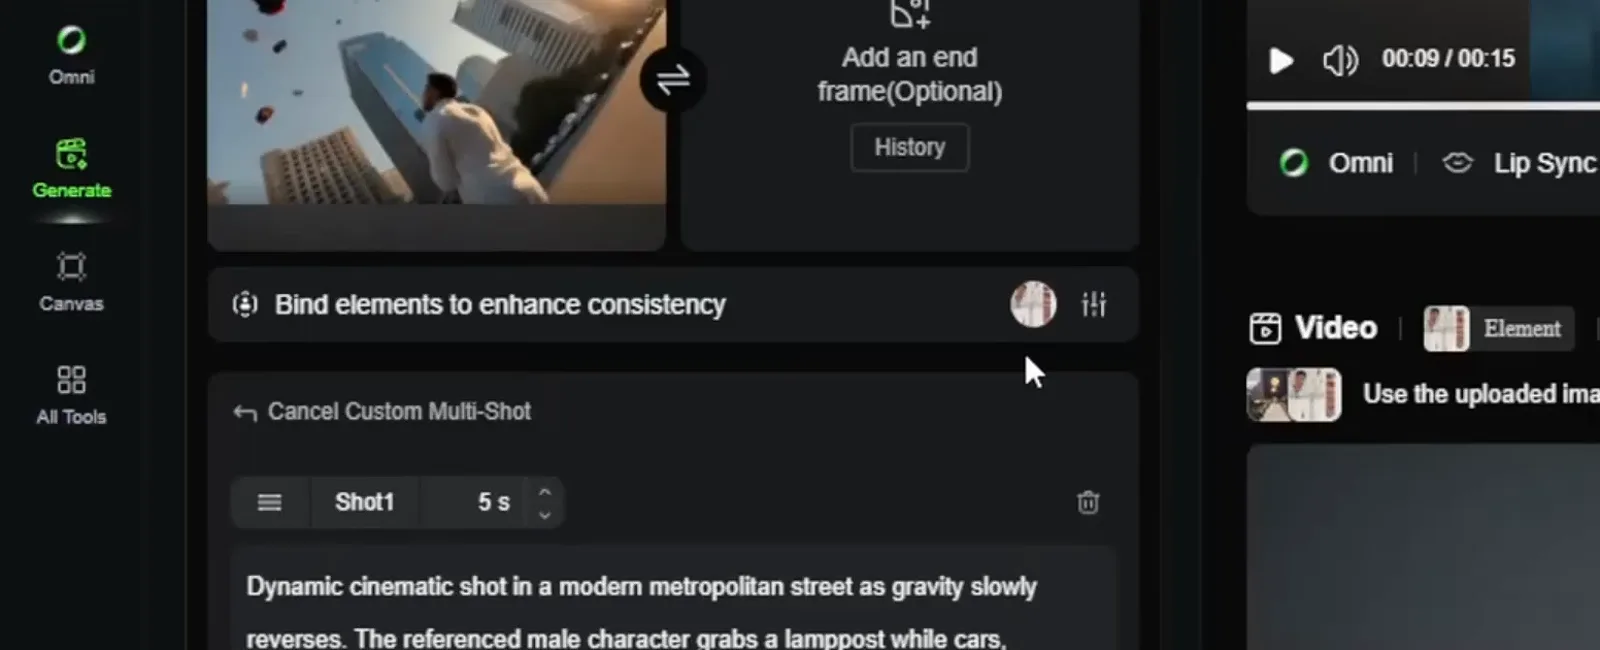
Start frame set, end frame box waiting — the shot lands on your chosen frame.Watch at 6:45 - 12
Generate a short connector clip between worlds
The door-threshold beat is its own roughly ten-second scene: start anchored to the hallway, end anchored to the new world, with the prompt holding the door visibly open behind him so both worlds stay in frame. DOTHA's result — a man opening a light-filled door onto a waterfall world — plays as one continuous move, not a transition effect. Bridging is a scene you plan, not an edit you fake.
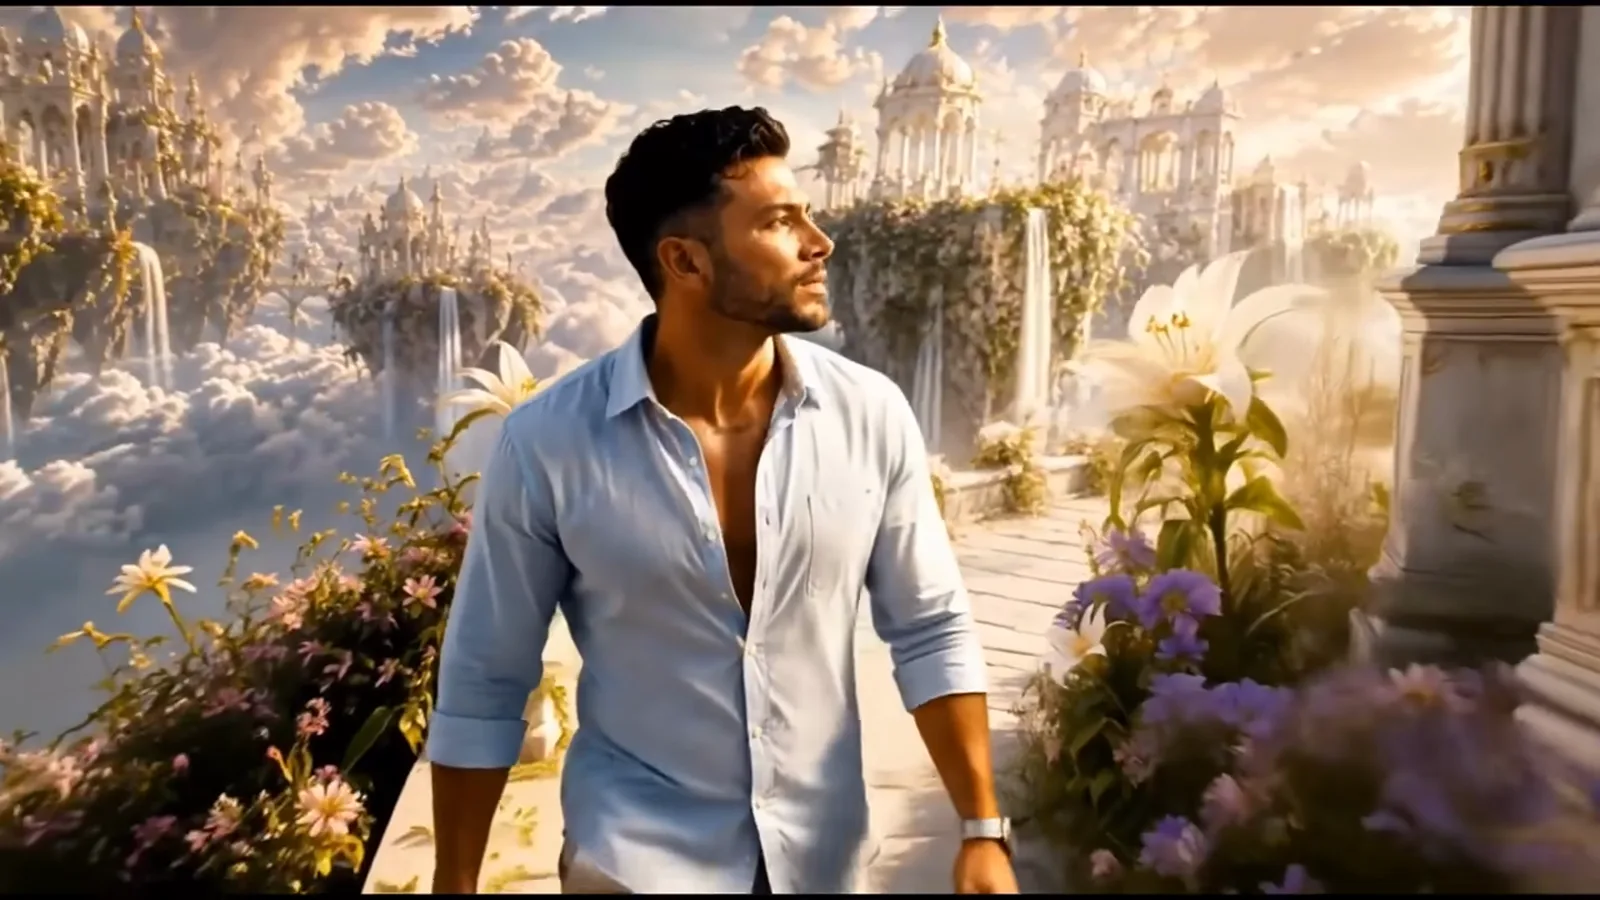
One door, two worlds — the connector plays as a single continuous camera move.Watch at 6:30 - 13
Plan the return before you finish the journey
DOTHA's rule from inside the floating world: plan the escape while you still can. While you generate the destination, set up the door that leads home — his final scene peeks back through the front door where the story started. Closing the loop in planning costs nothing; discovering your character is stranded on the far side costs a full regeneration budget.
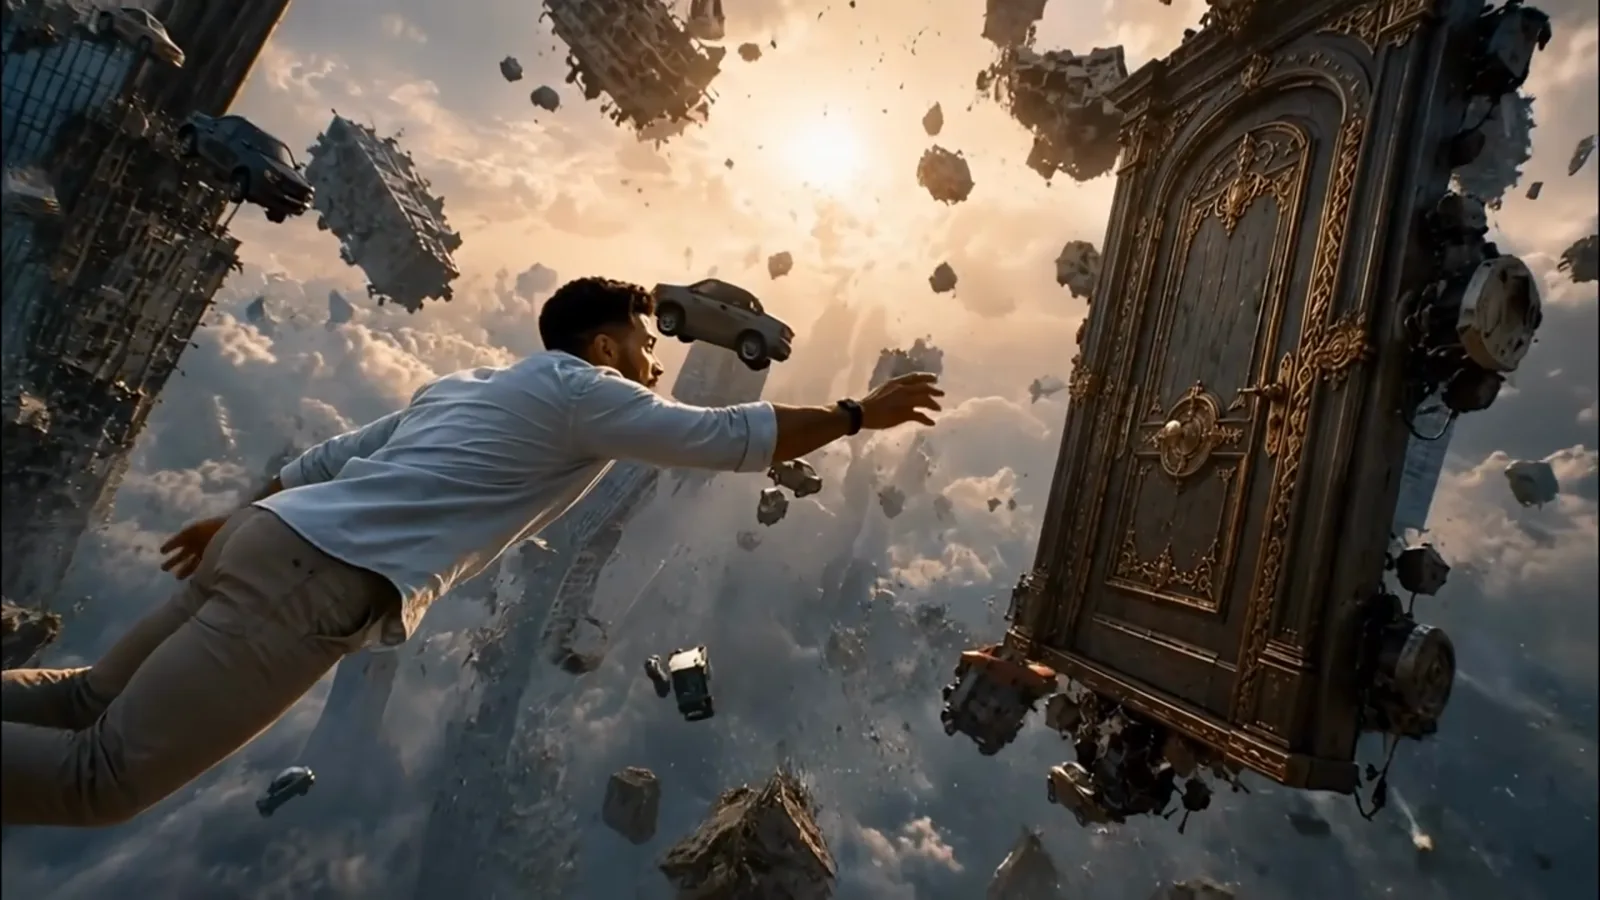
The story ends where it began — because the way home was generated on purpose.Watch at 10:15
Direct the performance like a film crew
- 14
Combine keyframes with Omni references
Theoretically Media's sharpest 4.0 trick: keyframes and Omni reference are better together than apart. Keyframing the character gives the model a template for how the actor should move, while the Omni reference carries the identity — version 4.0 allows up to 10 references in this mode. His flamethrower-girl test held the same character, the same kitchen, even the sink's spatial position stable across cuts. His own verdict: best of both worlds.
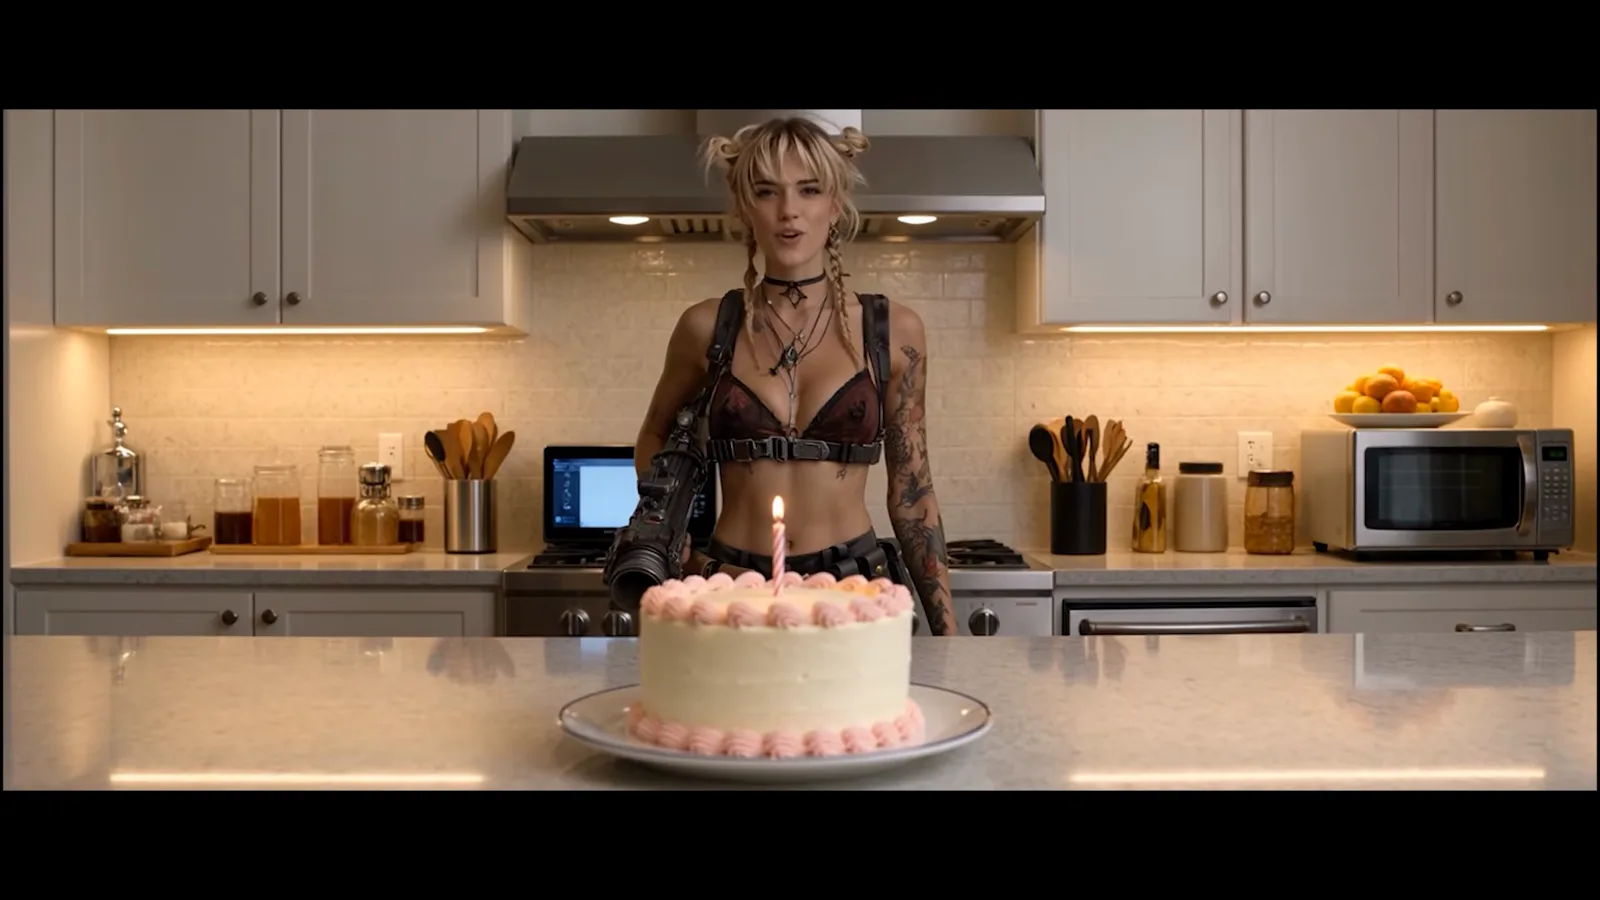
Same character, same kitchen, stable geometry — keyframes plus Omni holding the scene.Watch at 3:30 - 15
Test dialogue early — lip sync is fixed
The lip-sync weakness that plagued Kling 3.0 is solved in 4.0, and Theoretically Media's diner test shows it: a suited agent trades lines with a waitress while the camera holds on both. Dialogue doubles as a stress test — the waitress starts with her back to the original image, so the model had to invent her face and keep it consistent through the turn. If your scene talks, test one line before you build the whole scene around it.
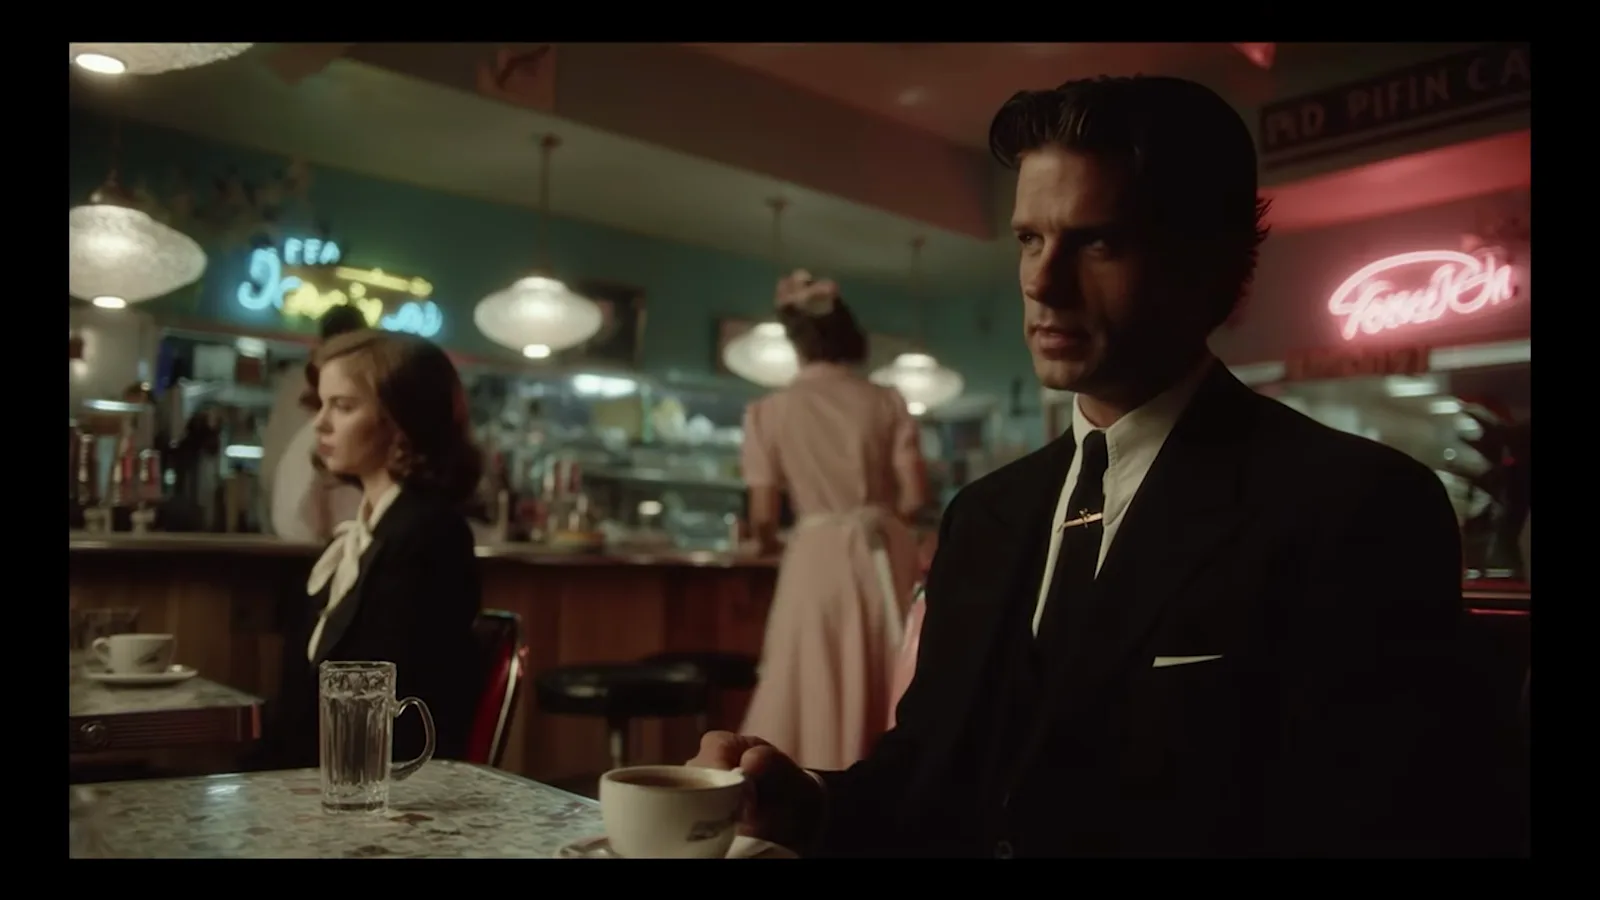
Two characters, spoken lines, one take — the diner test 3.0 used to fail.Watch at 2:15 - 16
Audit every output for unprompted details
Generation adds its own props: in Theoretically Media's detective scene, the Omni model dressed the lead in a gray jacket nobody requested. He still rated the take highly — camera directions held, the office stayed cohesive — but the wardrobe is the lesson. Watch every return for invented clothing, props and spatial shifts, then re-roll or pin the detail explicitly in the prompt.
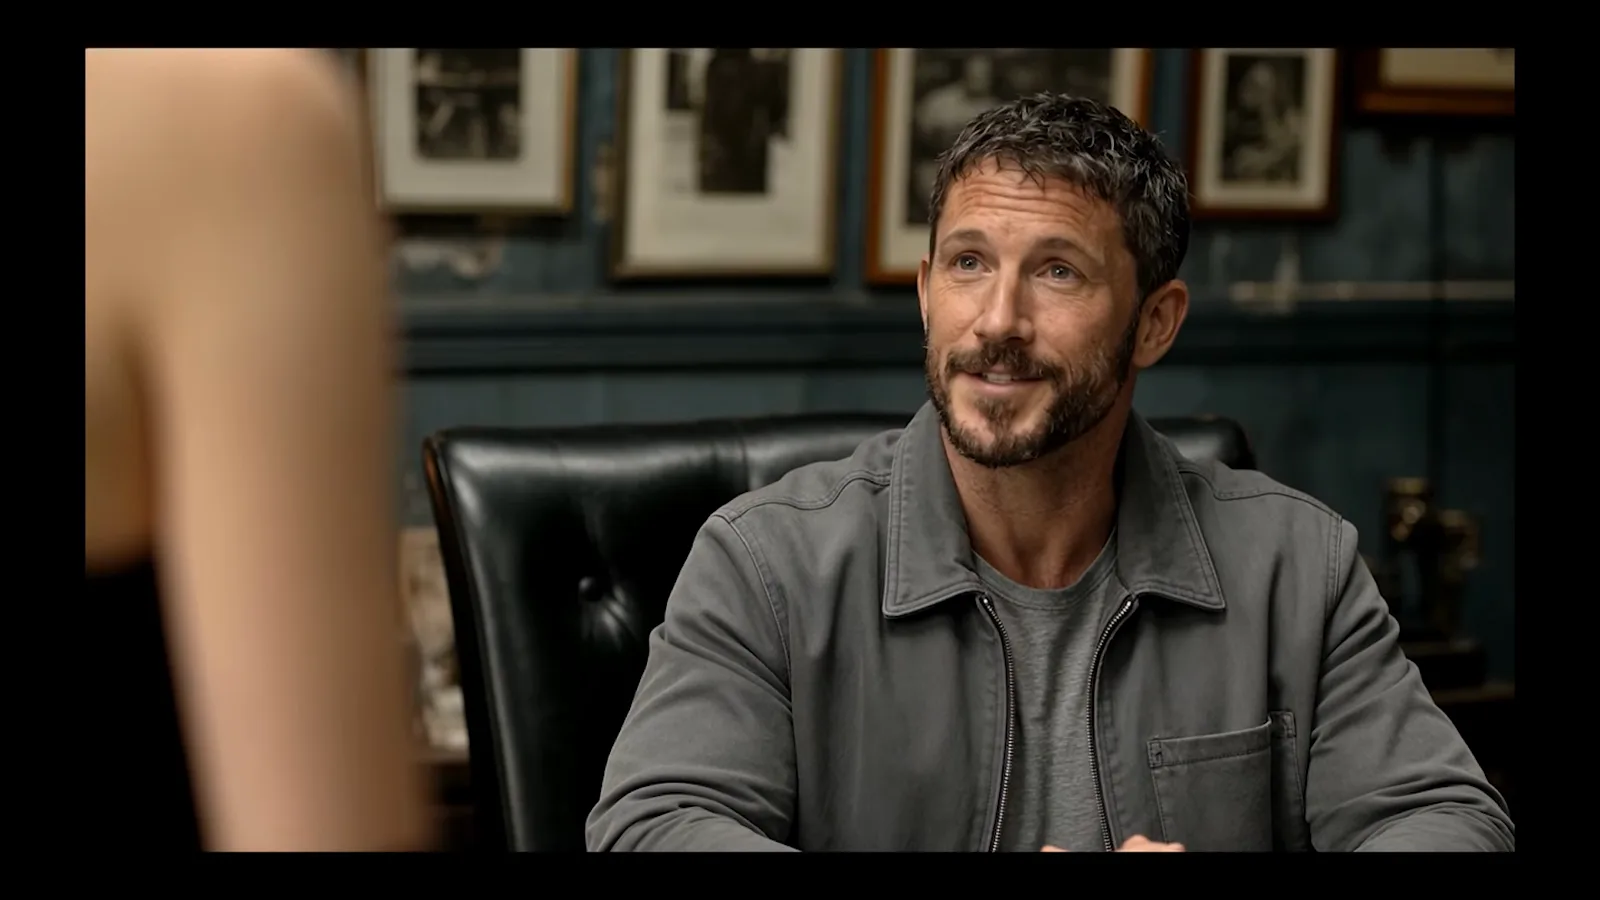
The gray jacket was never in the prompt — audit wardrobe, props and space on every take.Watch at 4:45