

ChatGPT Images 2.5 Prompts: The Step-by-Step Guide
ChatGPT Images 2.5 turned image generation into something closer to photo editing: you generate once, then keep refining the same image with pinned comments, markup sketches, erase strokes, and one-click resize. This walkthrough follows a complete hands-on session recorded by Kevin Stratvert on the real ChatGPT interface — every screenshot below comes from that session, with test findings from Futurepedia's full review and Riko Nazza AI's business-use tests folded into the copy. Follow along section by section and you will end with the same skills: writing structured prompts, editing without starting over, and rendering posters whose text actually comes out right.
Source & credits
Screenshots in this guide are captured from Kevin Stratvert's public walkthrough video. Every step links back to the exact moment it shows, so you can follow along.
Kevin Stratvert ↗Meet Images 2.5 in ChatGPT
- 1
Open the Images tab from the ChatGPT sidebar
Open ChatGPT and click Images in the left sidebar, under Library. When the entry carries the Updated badge, you are on the new 2.5 model. The landing page greets you with a single Describe-a-new-image box plus Trending and Templates tabs — everything in this guide starts from that one input.
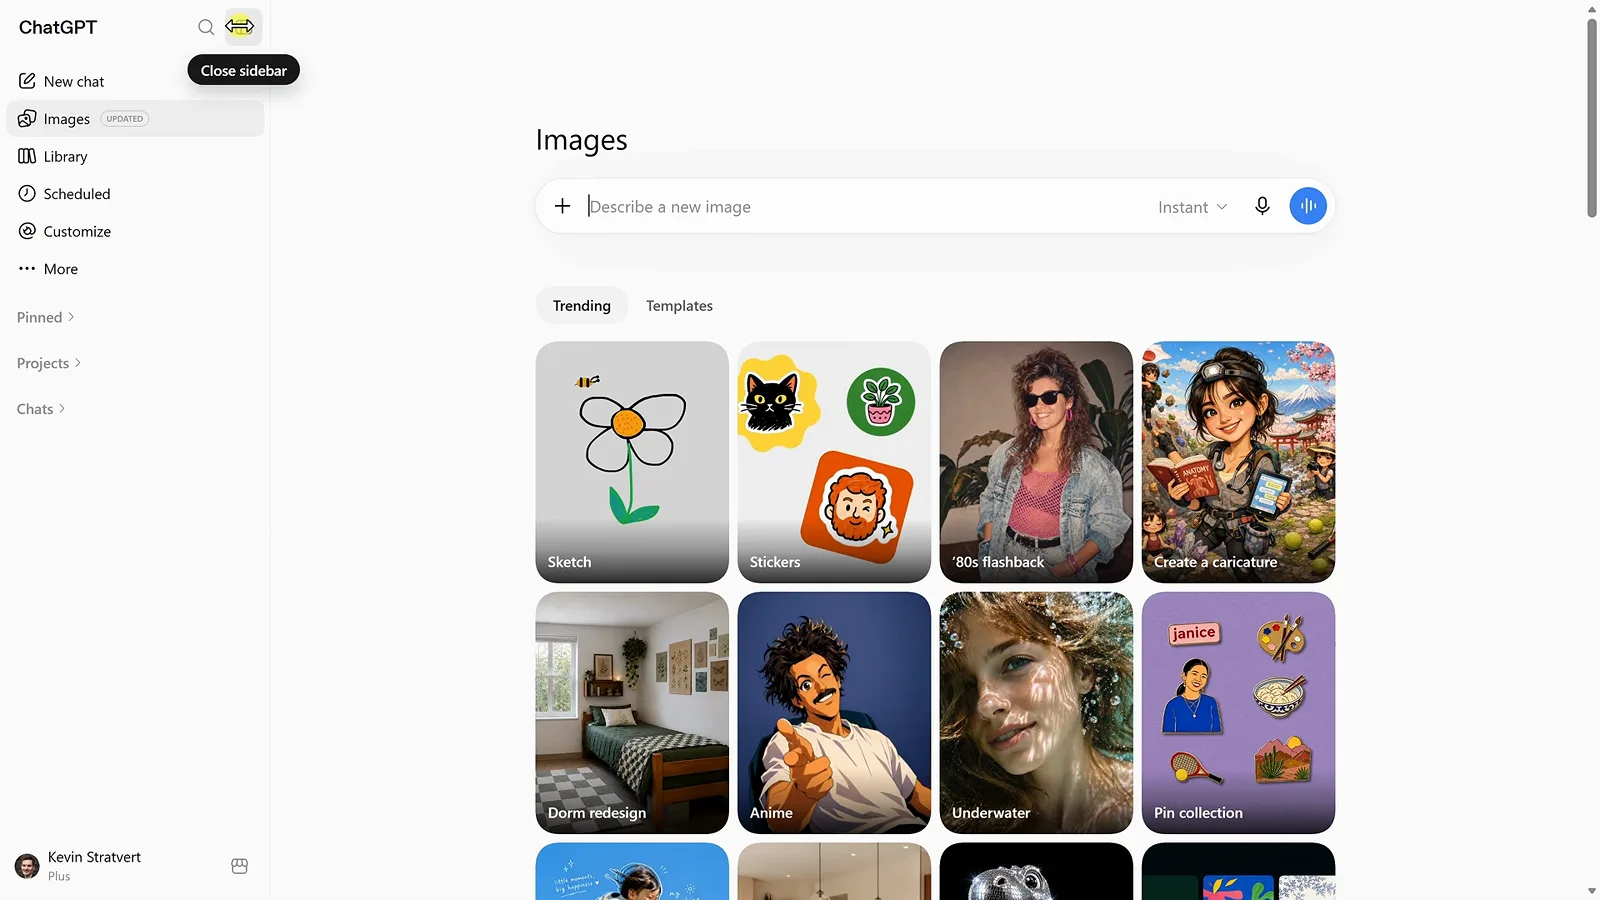
One input box, two galleries — the whole Images 2.5 home.Watch at 2:14 - 2
Let a template write your first detailed prompt
Click a template — here it is '80s Flashback — and ChatGPT writes the prompt for you: preserve identity, facial features, skin tone and age, then restyle hair, clothing, accessories and surroundings, down to analog film grain and a red-orange date stamp. Templates are editable prompt presets, and they are the fastest way to see how much detail a strong prompt carries. Reviewers also noticed many templates interview you with clarifying questions before generating.
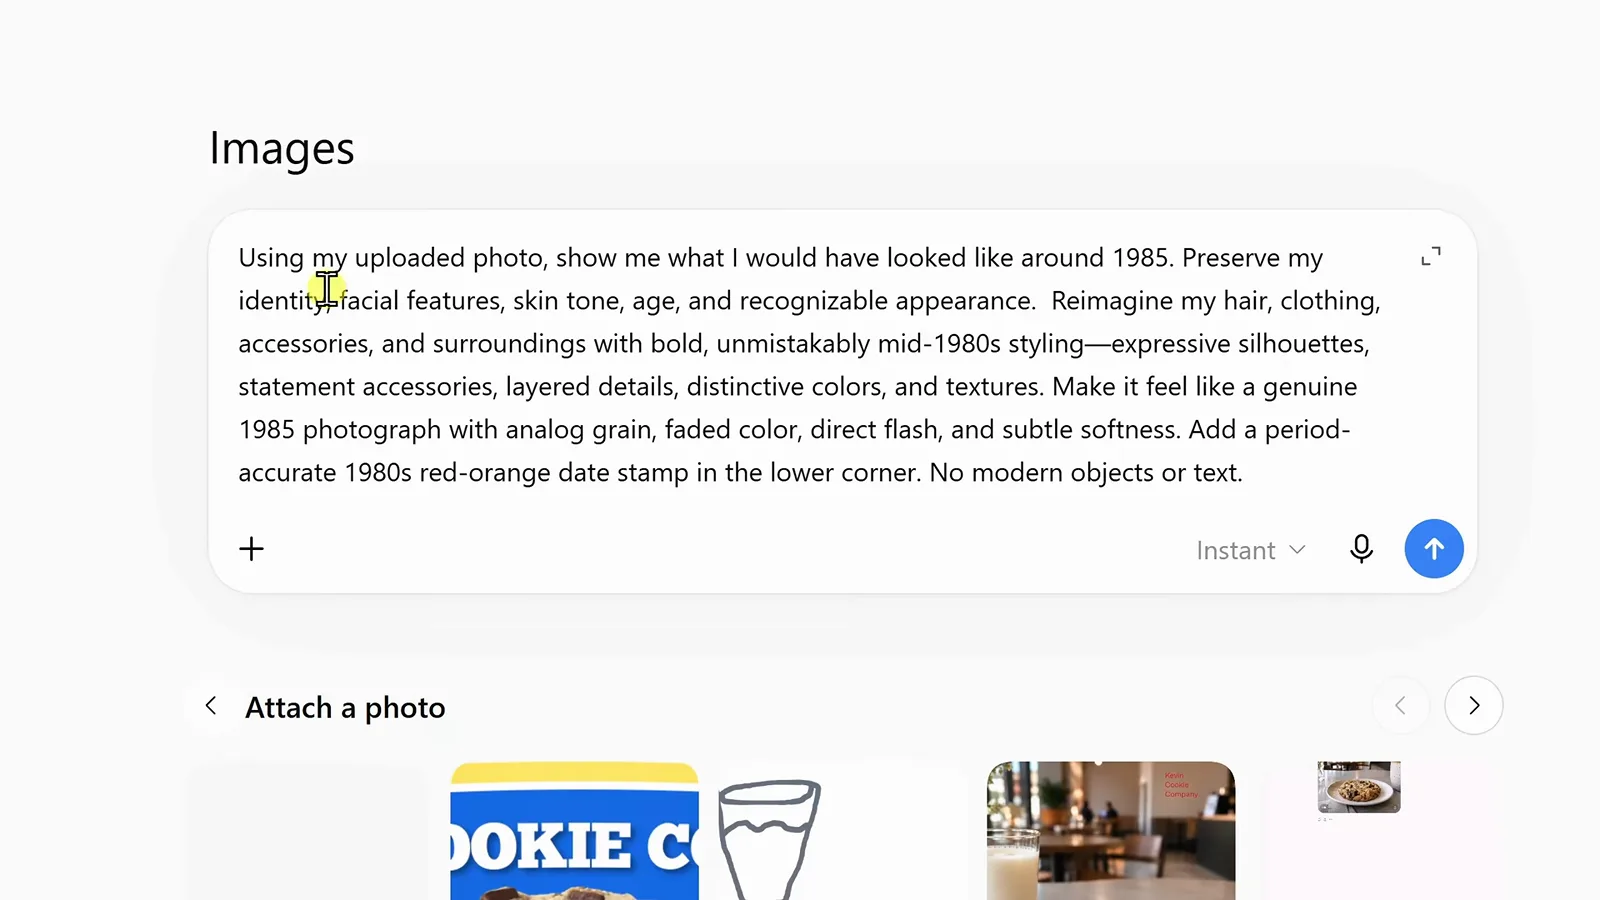
Every template is a written prompt you can study, edit, and reuse.Watch at 1:06 - 3
Find everything you generate in the Library
Every image lands in Library in the sidebar, sorted under Suggested, Folders, Images and All tabs, with file names drawn from your prompt. Closing a chat loses nothing — come back here to download, share, or pick up an older generation and keep editing it.
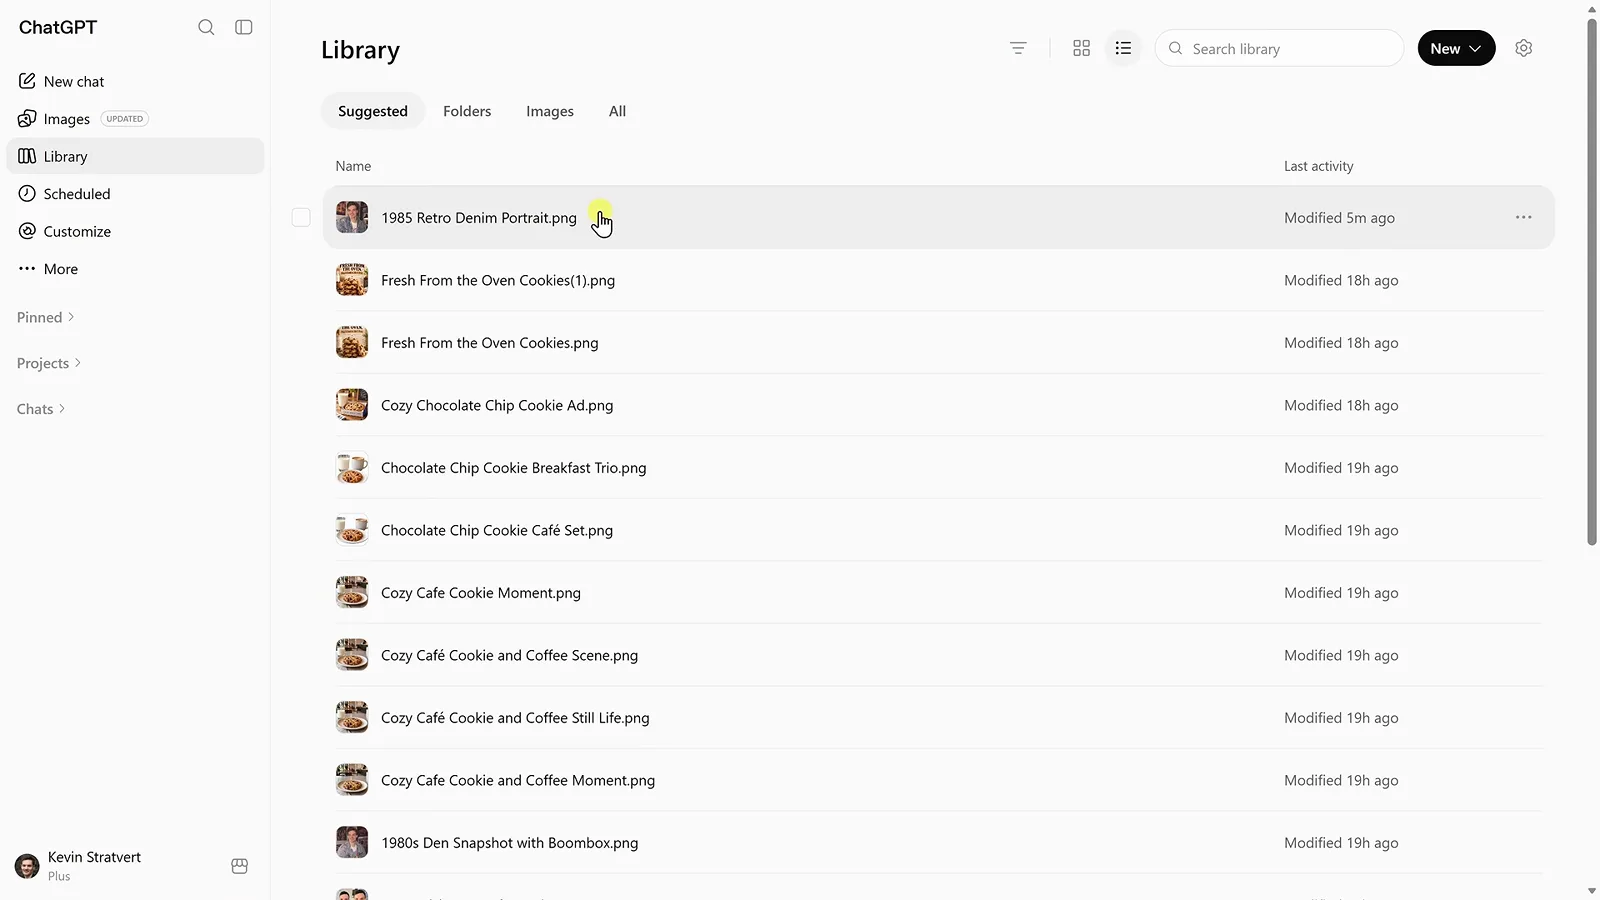
The Library keeps every generation as a named file.Watch at 2:04
Write a Prompt, Get an Image
- 4
Describe subject, setting, and lighting in one prompt
You never need a template. This demo prompt names the subject (a chocolate chip cookie on a white plate), the setting (a table in a cozy bakery), and the lighting (warm, natural, shallow depth of field) in two sentences. You can type far less — but every detail you specify is one less guess the model makes on your behalf.
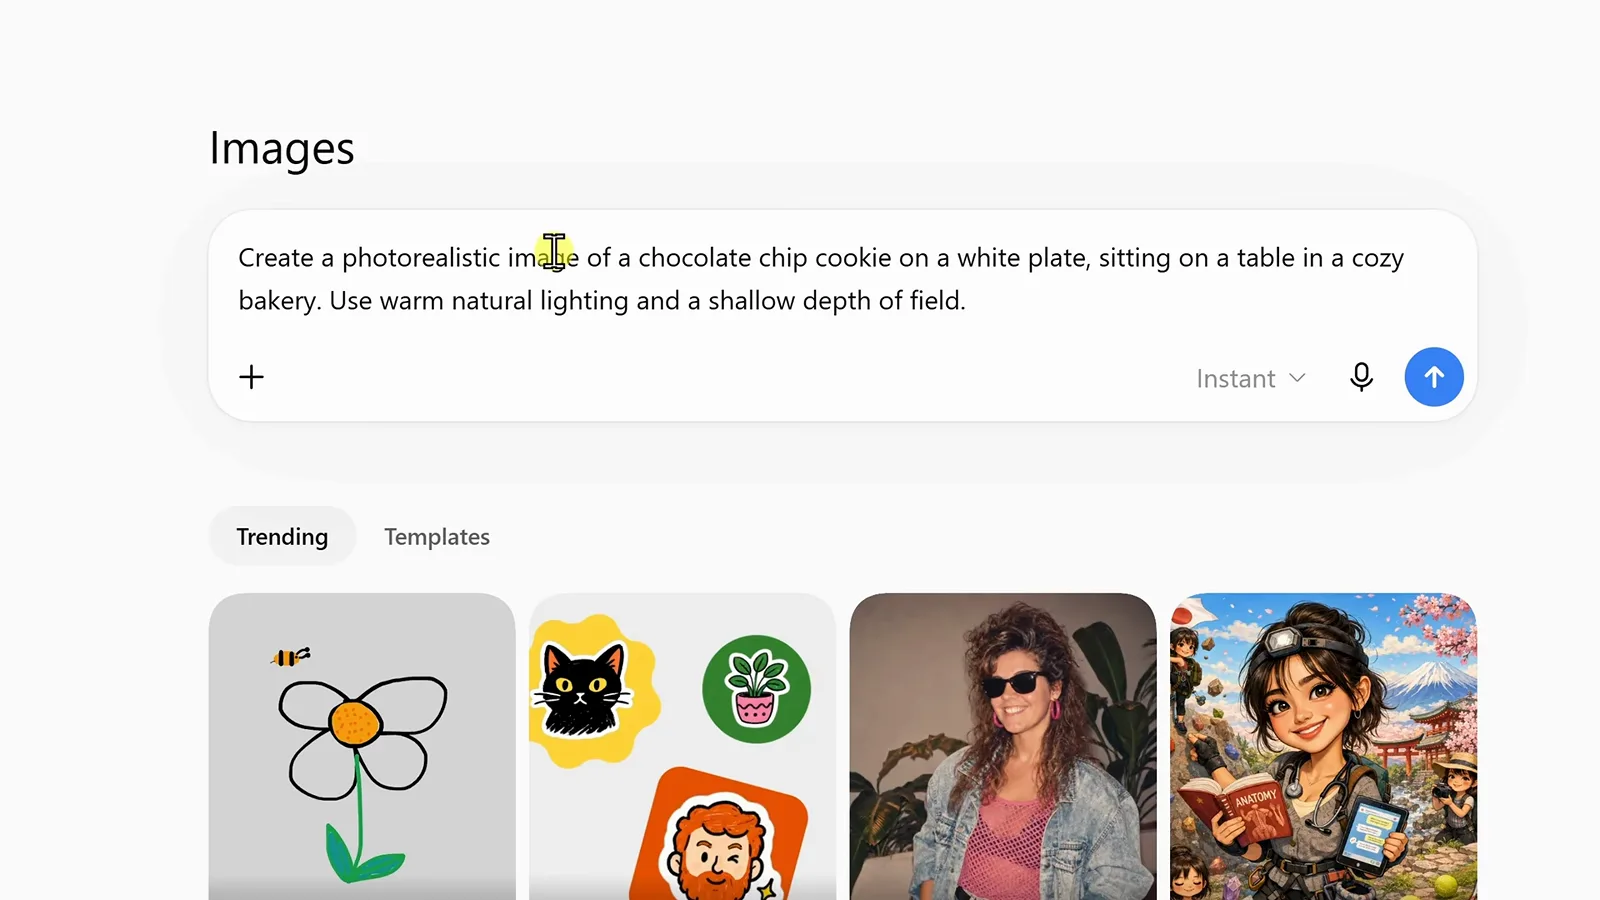
Subject, setting, lighting — three anchors any prompt can use.Watch at 2:25 - 5
Send it, then refine instead of restarting
Send the prompt and the image returns in seconds. If something is off, do not reroll from scratch — 2.5 is built for follow-up edits on the same image, and comment-based edits that change only what you ask for are the update's headline feature. The next six steps cover every editing tool the result screen gives you.
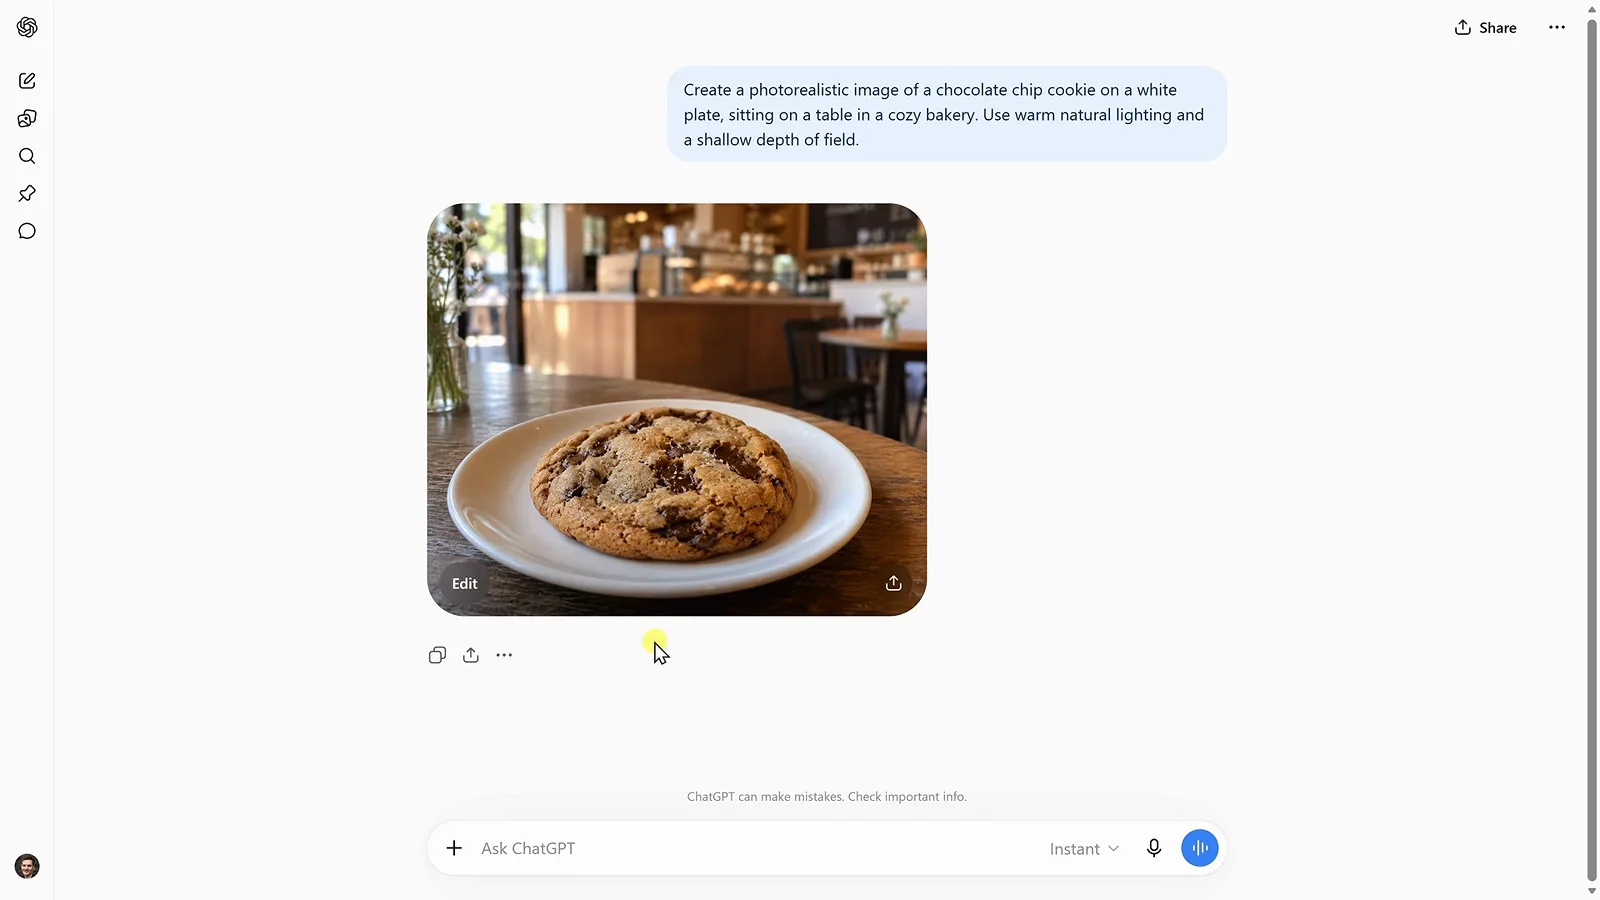
Generation is step one; refinement is where 2.5 shines.Watch at 2:54
Precision Editing: Comment, Erase, Markup, Resize
- 6
Pin a comment where you want the change
Open the image's editor, switch to Comment, and tap the exact spot — here the empty table beside the cookie — then type what should appear: a glass of milk. The pin tells the model where; the sentence tells it what. This replaces the old habit of re-describing the entire scene and hoping for the best.
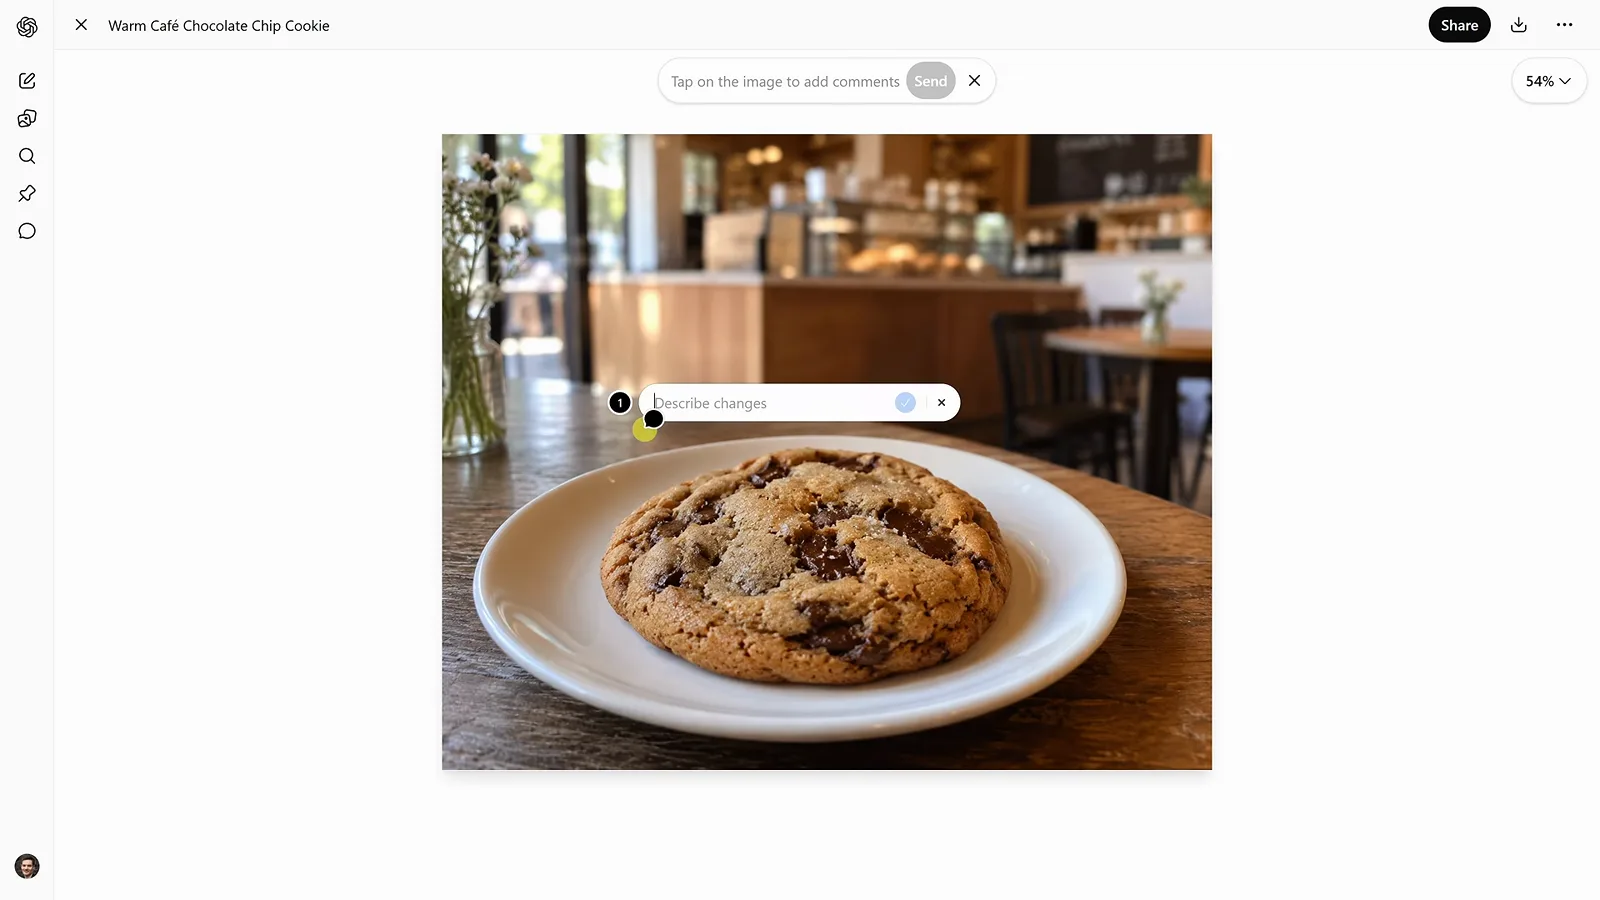
Point first, describe second — that is a comment edit.Watch at 3:26 - 7
Send the comment and keep everything else stable
The milk glass appears exactly where it was pinned while the plate, cookie, and café background stay put. That stability is the biggest practical leap over the previous model, which tended to redraw the whole scene for one small request — the reason editors used to save a copy before every change.
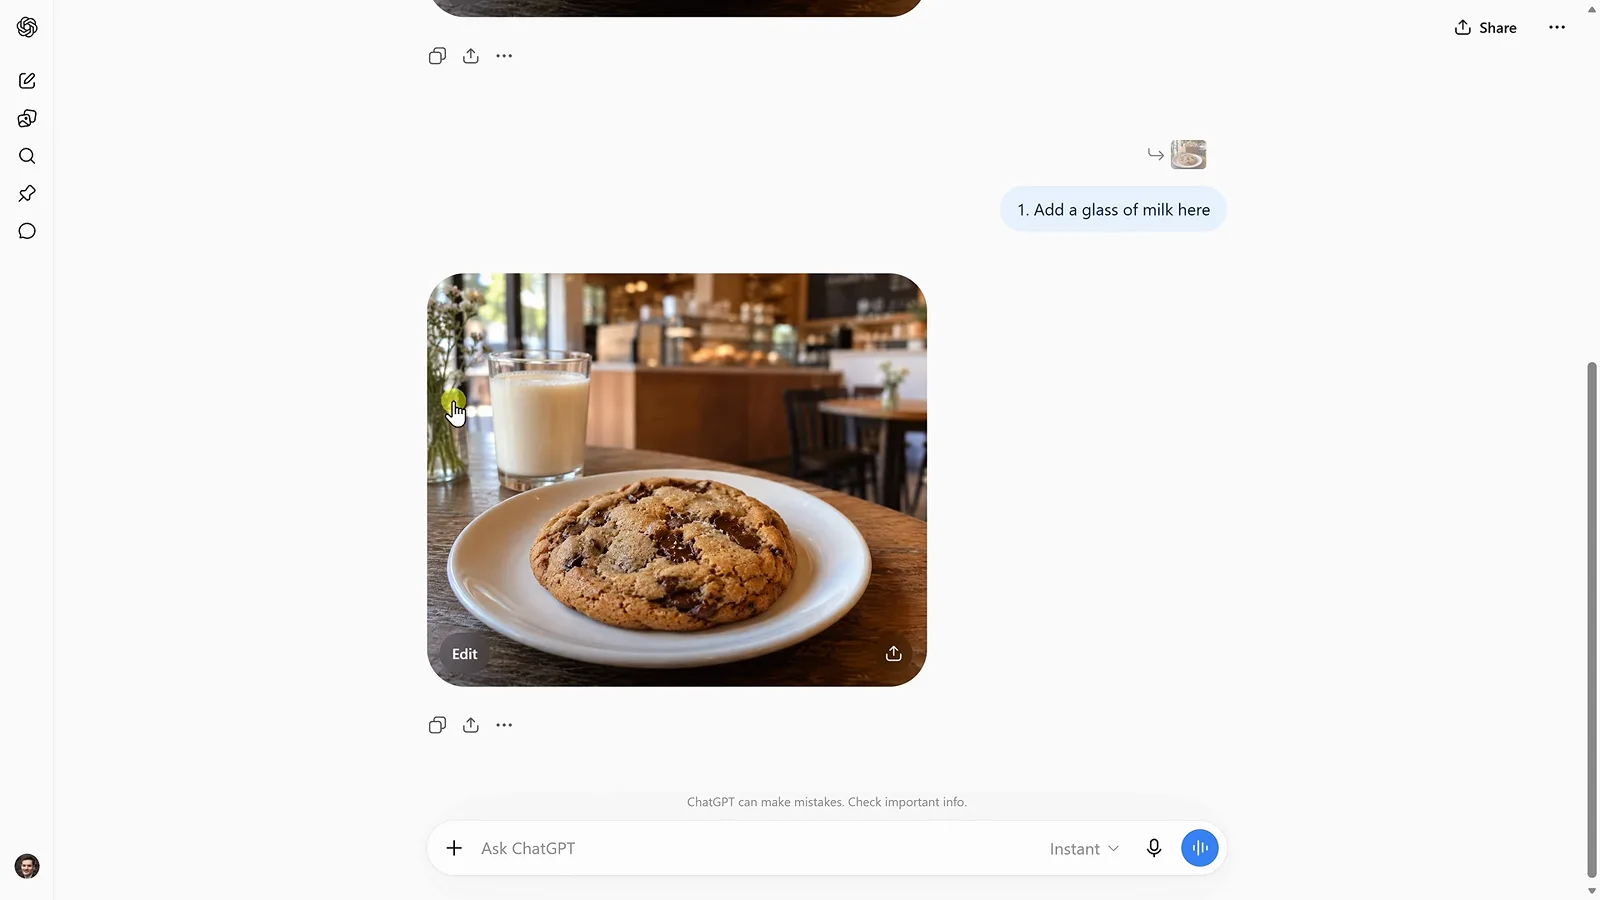
One pinned comment in, one glass of milk out — nothing else moved.Watch at 3:50 - 8
Erase anything that does not belong
The flower vase has to go? Open the editor, choose Erase, brush over the object, and send — the selection chip shows up in the thread and the area refills with matching background. Together with comments, erase covers most small cleanups: declutter a product shot, remove a passerby, tidy an edge, all inside the image you already like.
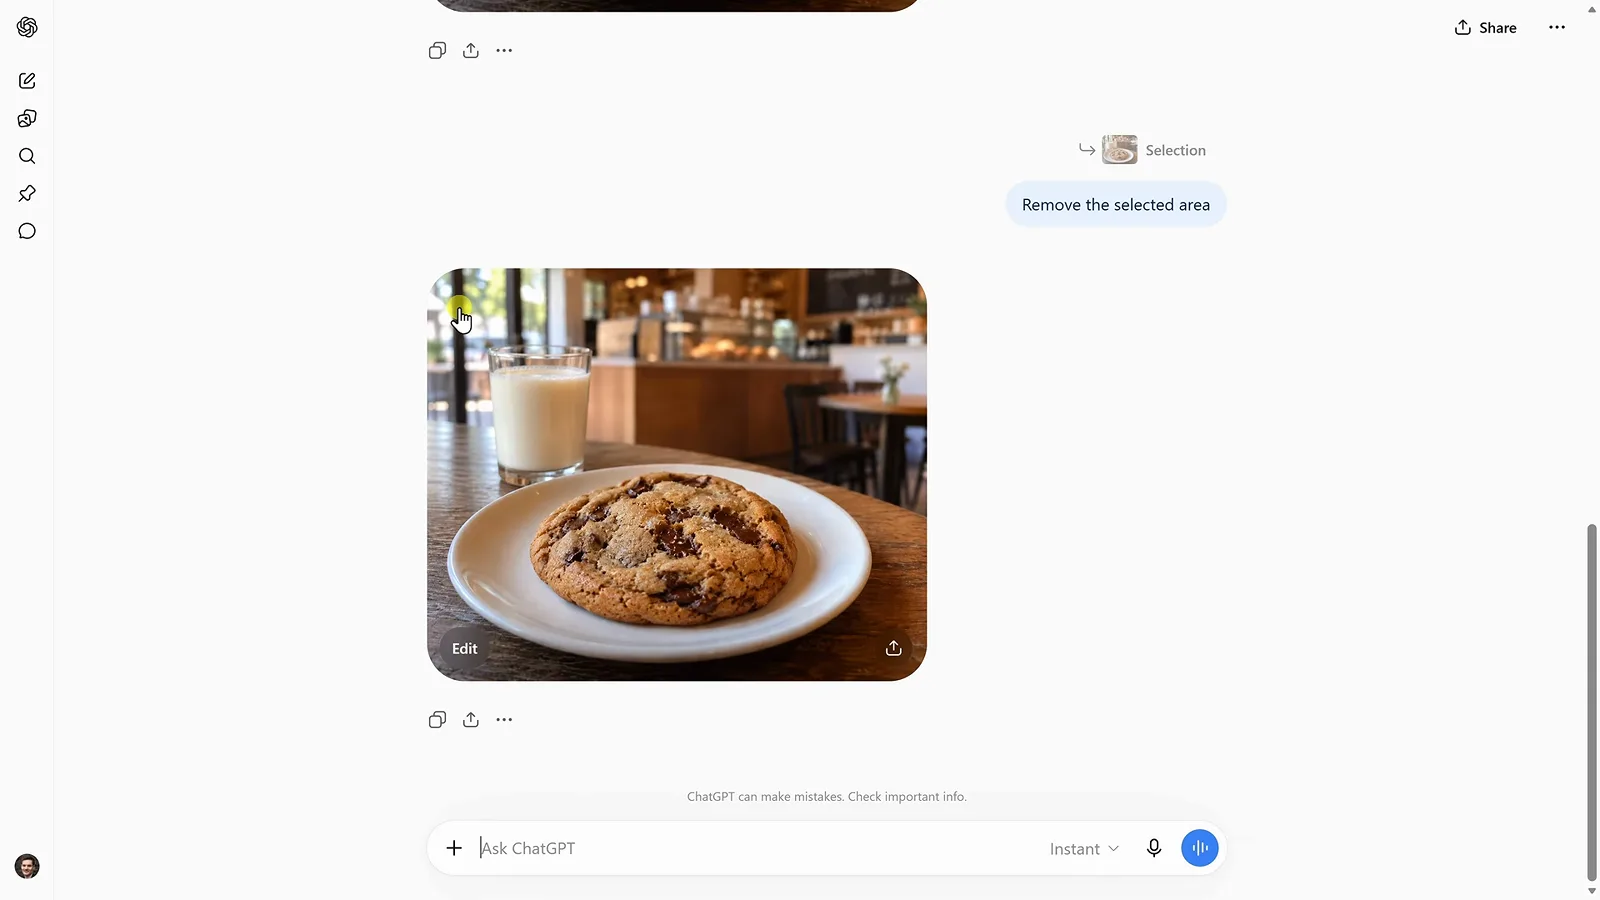
Erase is one brush stroke plus one send.Watch at 4:04 - 9
Draw markup and pair it with a written instruction
For changes that are hard to phrase, use Markup: draw a red box around the milk glass, then type that the text Kevin Cookie Company should wrap naturally around the glass. The sketch carries the where, the sentence carries the what — testers found this combination more reliable than comments alone on busy images.
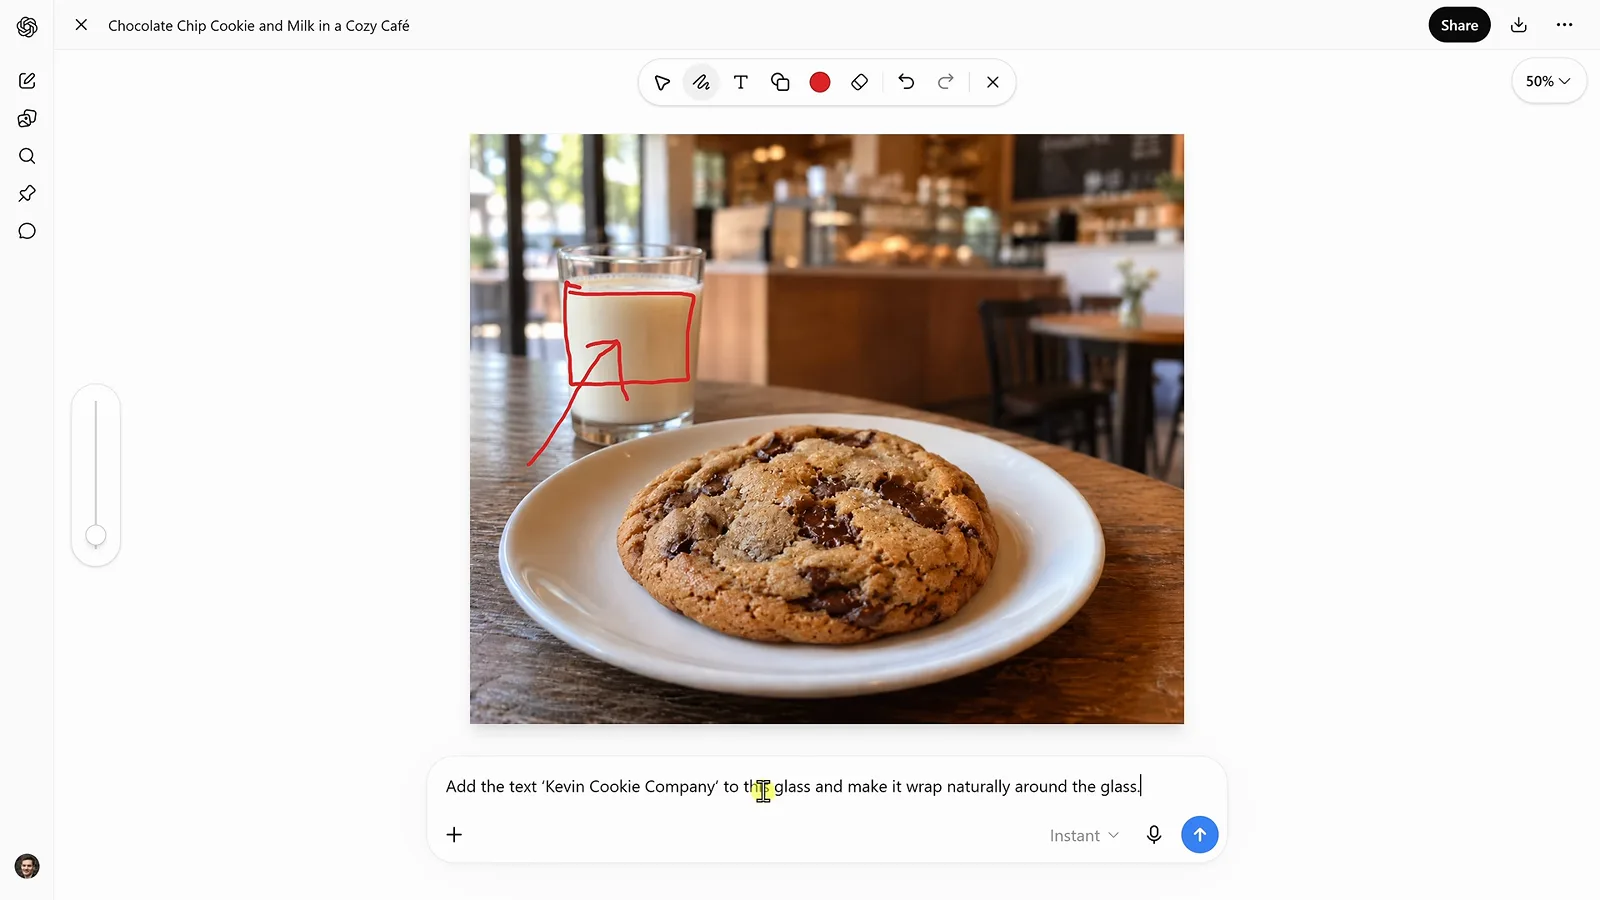
A red box plus one sentence beats a paragraph of guessing.Watch at 4:50 - 10
Text that follows curved surfaces
The result renders Kevin Cookie Company along the glass's curve instead of pasting it flat across the photo. Text was already the previous model's strength; 2.5 packs more of it in with fewer errors, and independent side-by-sides put it ahead of Gemini and Nano Banana 2 on dense-text detail. Long passages can still garble, so zoom in and proofread before you ship.
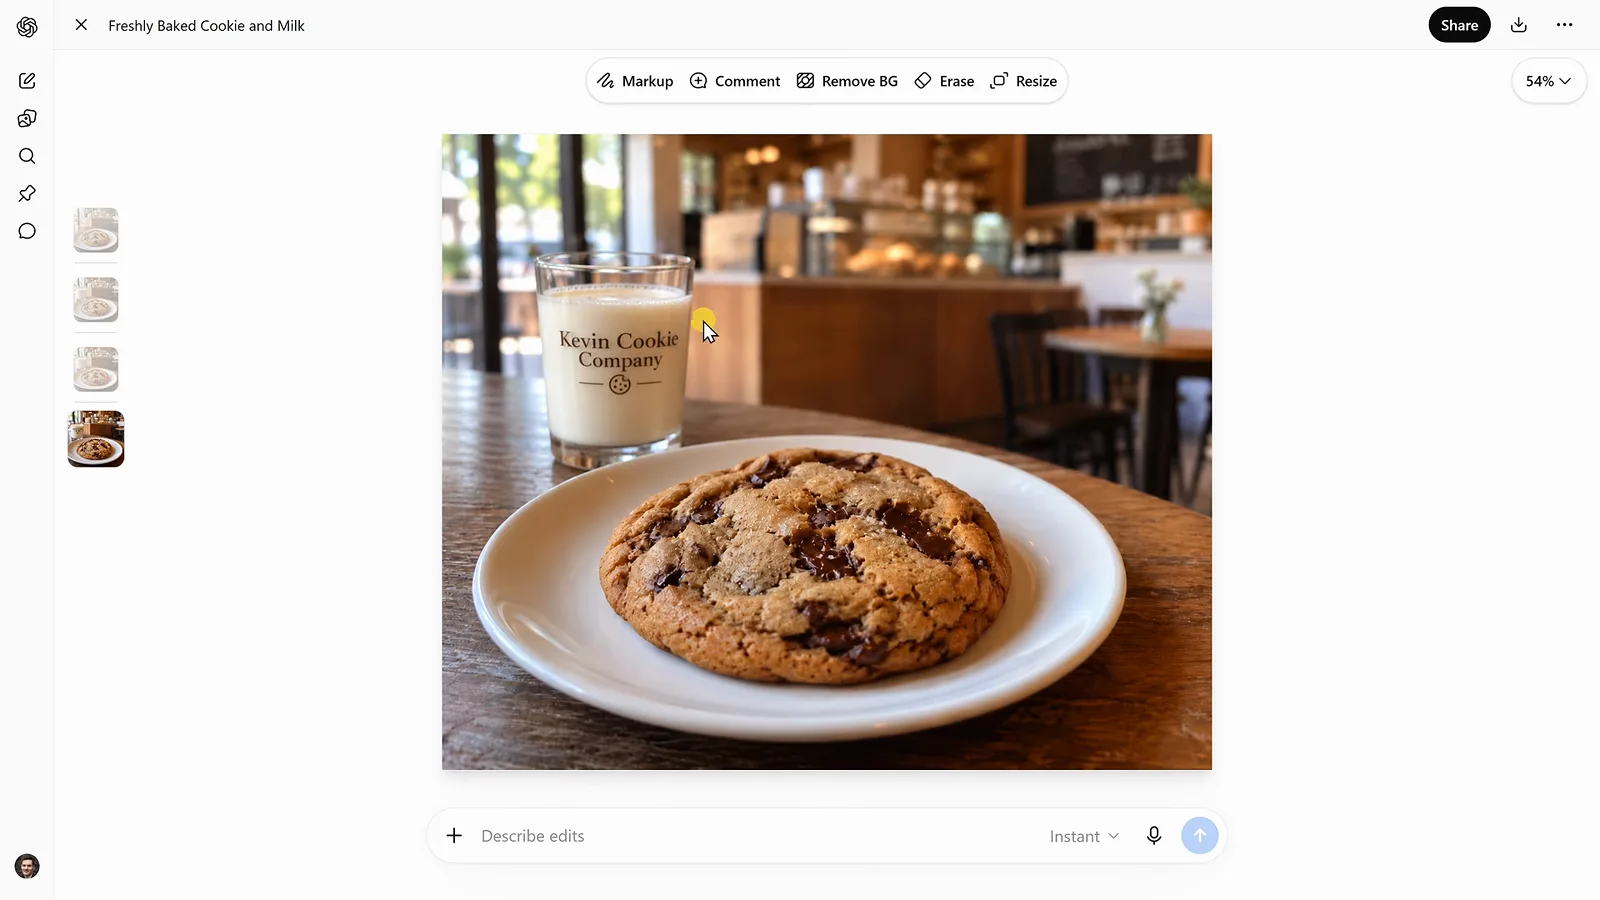
Curved, readable, on-brand text — the classic 2.5 showcase.Watch at 5:08 - 11
Resize into any aspect ratio with one click
The same toolbar carries Resize: pick Square 1:1, Portrait 4:5, Story 9:16, Landscape 4:3, or Widescreen 16:9 and the image regenerates recomposed for the new frame — no re-prompting, no manual cropping. One generation can therefore feed a landscape hero image, a portrait story, and a square feed post.
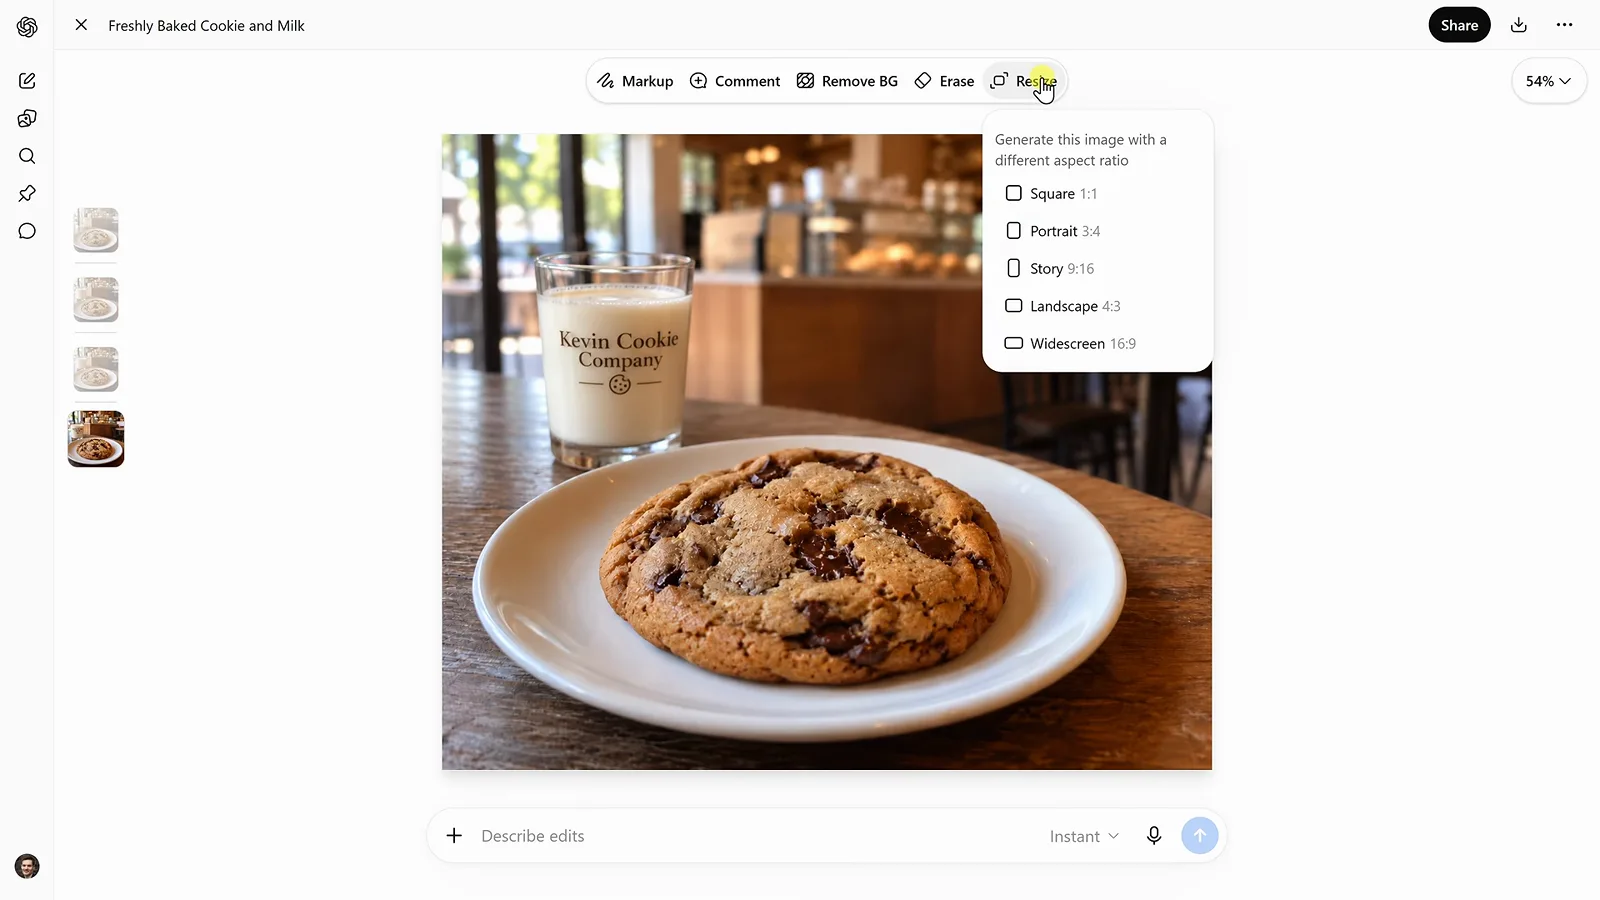
Five aspect ratios, zero re-prompting.Watch at 5:16
Sketch to Image and Posters with Text
- 12
Type @sketch anywhere to open the sketch pad
You do not need to hunt for the Sketch template: type @ in a prompt box and pick Sketch from the command menu. The canvas opens with pens, shapes, and a color palette, which means you can sketch without leaving the conversation you are already in — the command works in normal chats, not only on the Images page.
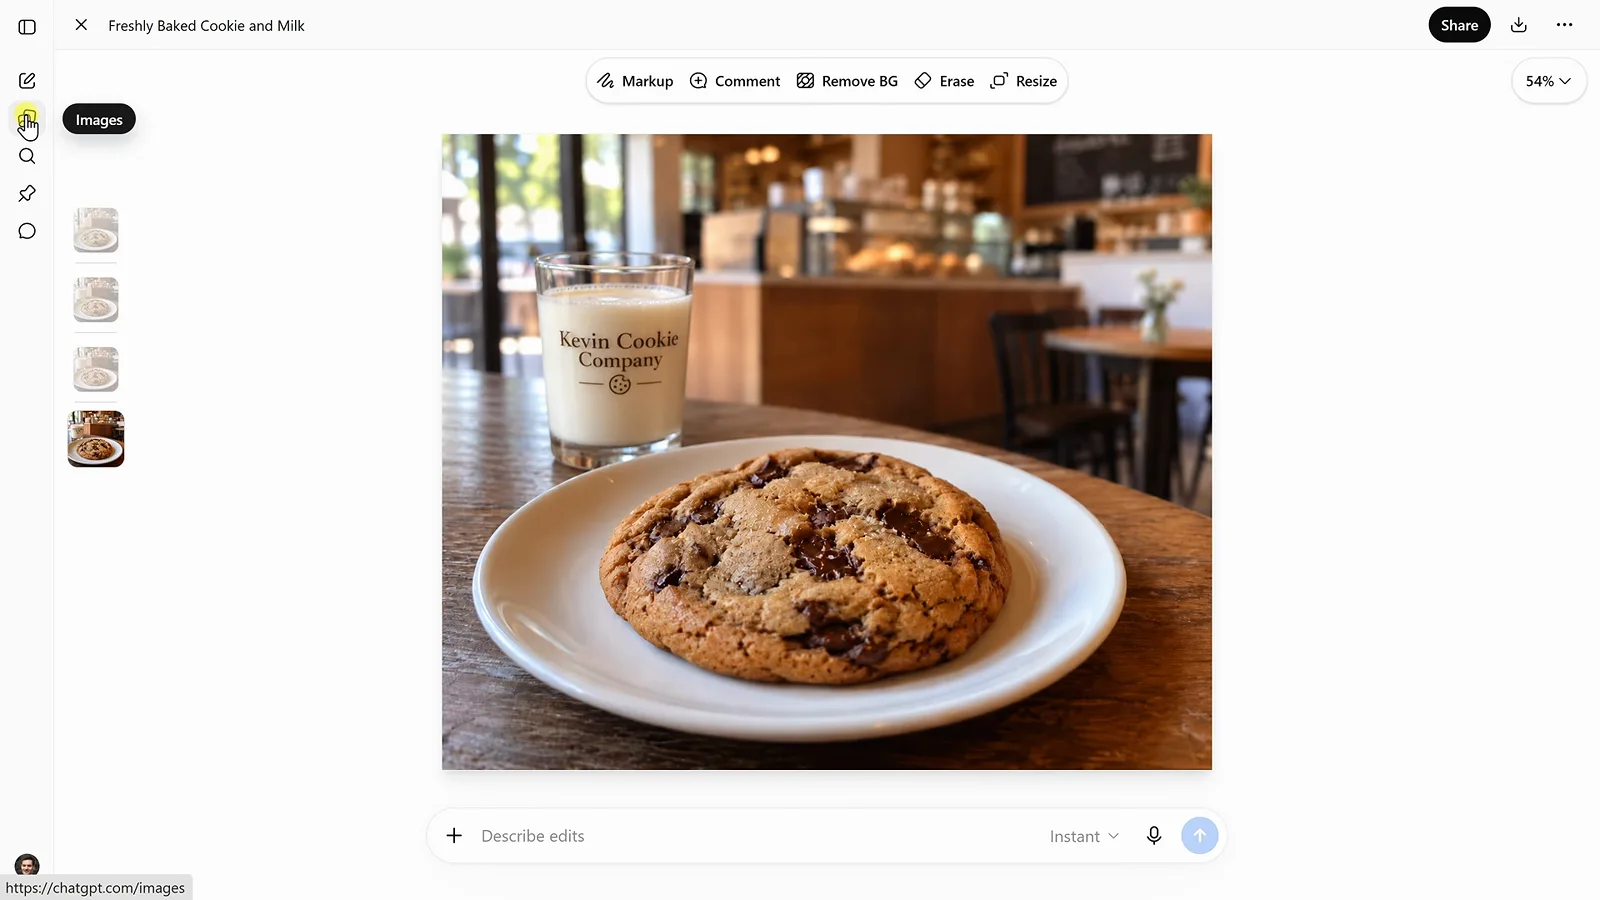
@sketch works in any chat, not just the Images tab.Watch at 5:52 - 13
A rough doodle is enough — layout beats artistry
Sketch the composition: a milk carton, a cookie, and a box for the brand name. Nobody wins prizes for this drawing, and that is fine — the model reads positions and proportions, not penmanship. If the elements sit in roughly the right places, the sketch has already done its job.
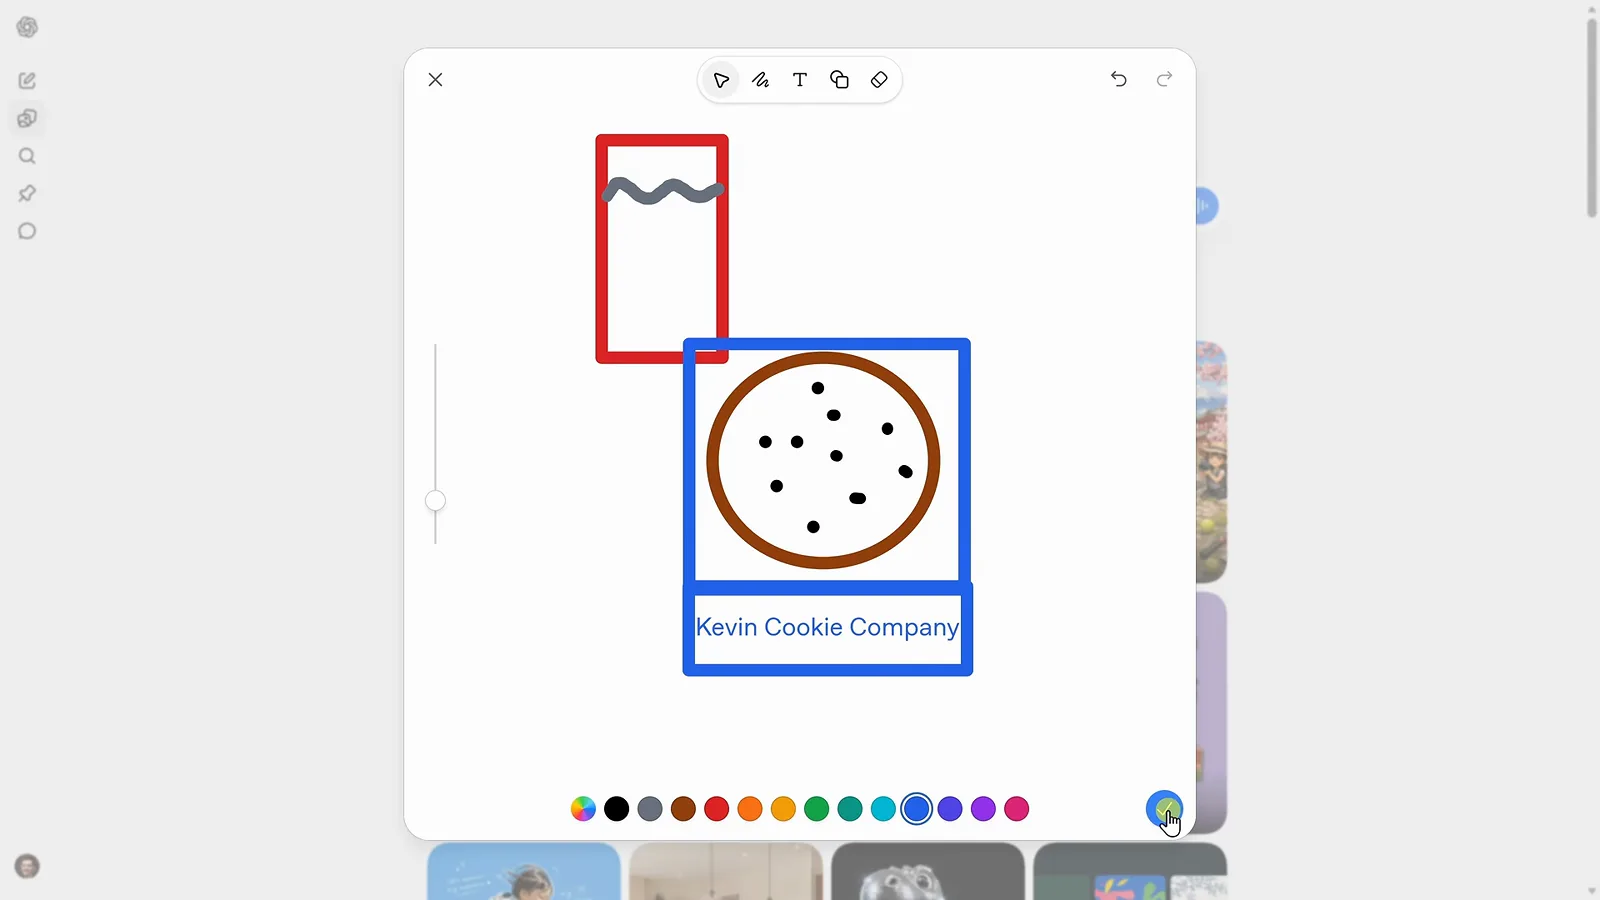
Boxes and blobs are a legitimate art style here.Watch at 6:32 - 14
Attach the sketch and describe the target style
Attach the drawing, then say what it should become: turn this into a photorealistic ad for the Kevin Cookie Company with warm lighting and the look of a professional food advertisement. The sketch supplies composition; the prompt supplies genre, lighting, and finish. Testers add a style keyword — action sports photography, watercolor — to lock the look in.
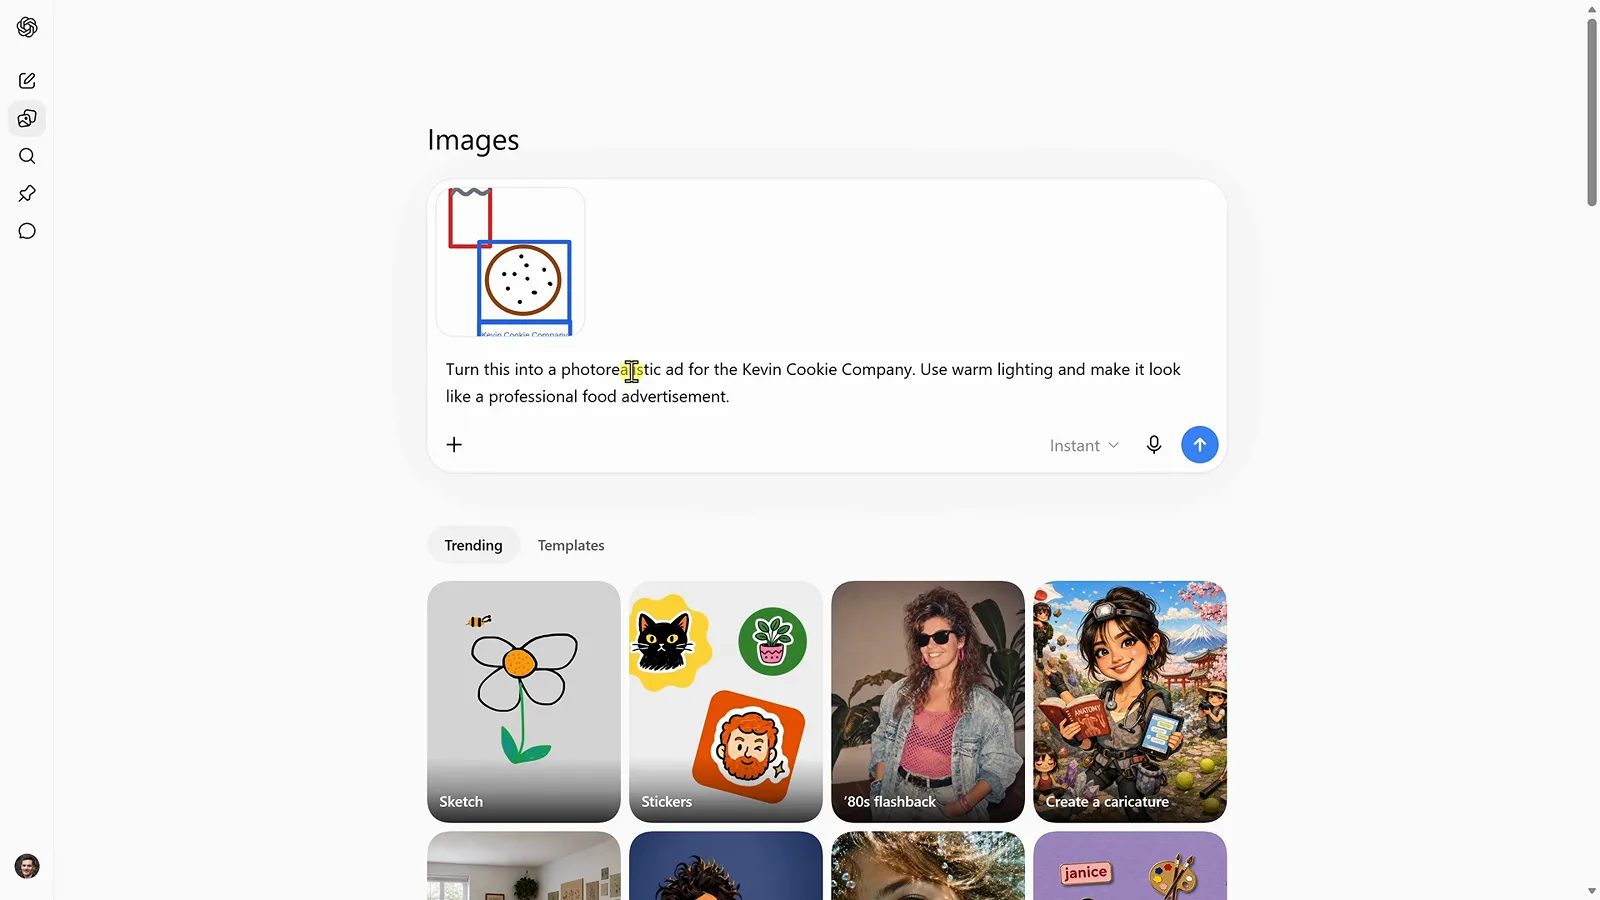
Sketch for layout, prompt for style.Watch at 6:42 - 15
Quote exact text in prompts for posters
For graphics that carry copy, put the exact words in quotes and say where each block goes: the headline FRESH FROM THE OVEN on top, Buy 2 Cookies Get 1 Free underneath, plus the imagery and overall bakery style. Quoting the strings stops the model from inventing its own wording — a quirk reviewers caught it doing unasked.
Quote every string you want rendered verbatim.Watch at 8:28 - 16
A ready-to-use promo, layout included
The model returns a finished poster — headline, offer line, product shot, badges, even a mock web address in the footer — laid out like a real advertisement rather than text floating on a photo. Refine it the same way as photos: comment on the headline, resize for print ratios, and same-day marketing material is yours.
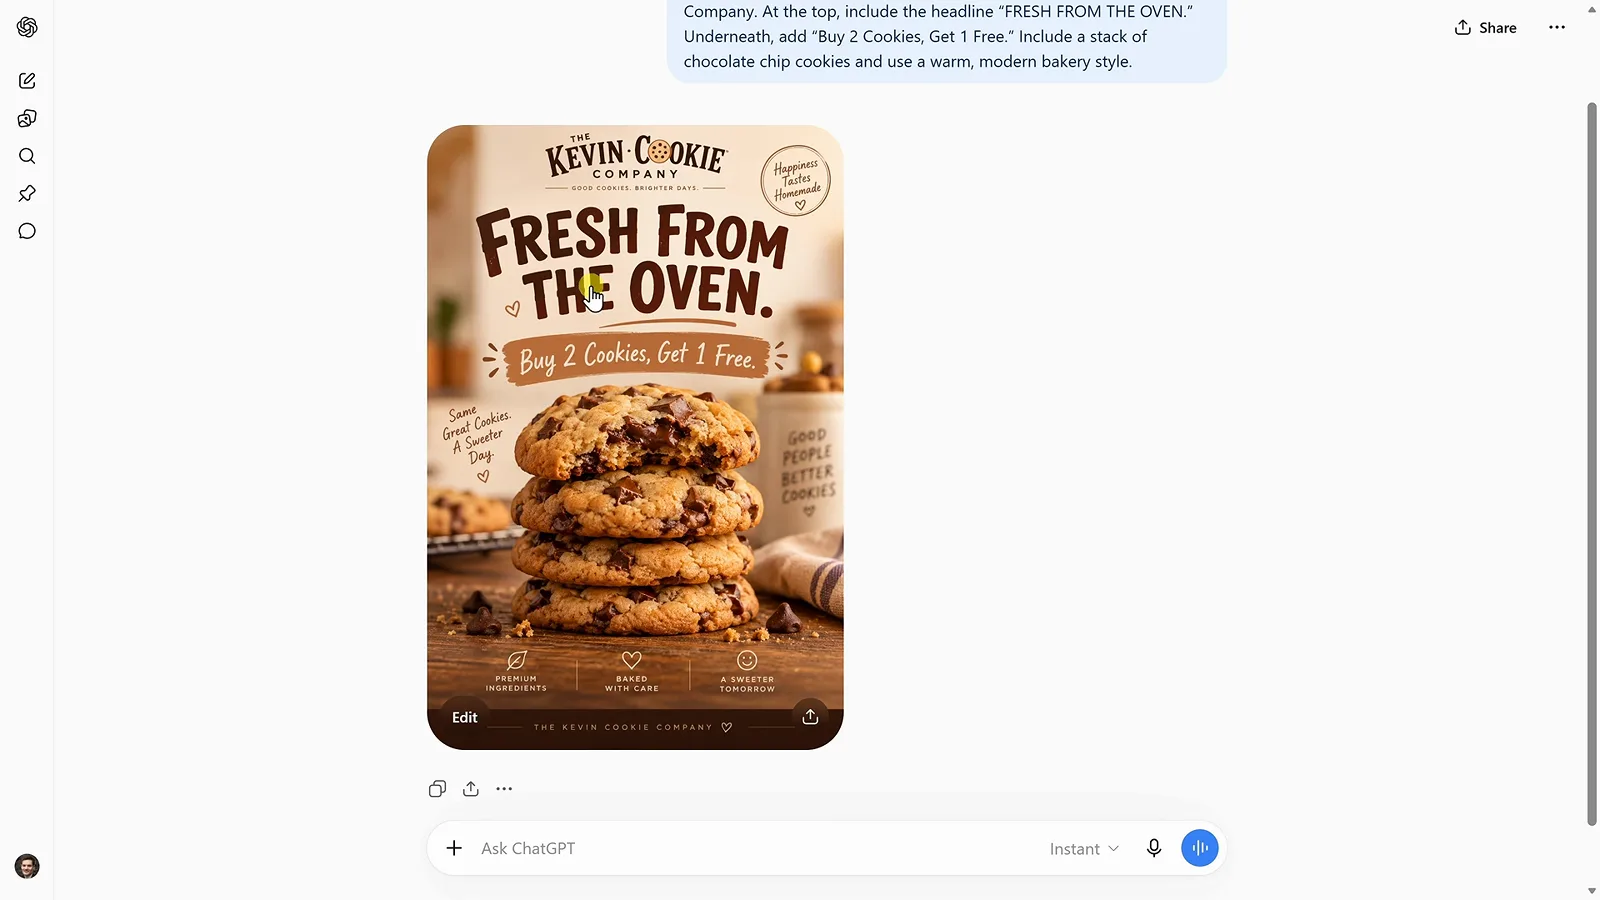
From quoted prompt to laid-out promo poster in one pass.Watch at 8:49